818 Renovation

Nursery Inspiration

I know I promised additional updates quite some time ago - and we have been busy making progress. The addition is nearing completion and with that, this nesting-mama-to-be has one thing on her mind -- the nursery! It has been tough waiting patiently to get started on it, but, being the planner I am, I know it will come together quickly.

I wanted the nursery to be largely gender neutral and started planning it before we found out we were having a little girl. I also wanted it to flow with the rest of the house and be a space we, as adults, would love to be in. So yes -- this does mean some black and white. Because the walls are the original 1950 stucco and heavily textured, I wanted to keep them the same matte white as the rest of the house. But this is also a room for baby, so color is a must. I settled on the idea of a injecting color through a patterned rug. Below are a couple images that capture the overall vibe of the space and set my wheels in motion:

Image Via

Image Via

Image Via

Image Via

In addition to the rug, undoubtedly color will be brought in through toys, books and knick knacks. What I love about the next nursery is not only the pops of color balanced with black and white as well as natural materials, but the pair of simple white shelves which artfully display all that is baby!

Image Via

Image Via

Some of the room's major pieces will actually be hand-me-downs from my own nursery and childhood room -- a bentwood rocker my mom splurged on when my oldest brother was born (and rocked all 3 of us in, replacing the caning after each baby!), my dad's twin bed (just one for now!), and my own changing table which will get refreshed with a coat of paint (TBD!). So with these pieces and this overall look in mind I began sourcing the rest. With the rug being the main event, I started there -- finding a fun-yet-sophisticated one designed by an artist I follow on Instagram for Land of Nod. It had the perfect palette -- pulling in black and white and offering blues and greens to highlight were it a boy, and pinks and peaches were it a girl. 

1  /  2  /  3  /  4  /  5  /  6  /  7  /  8

As mentioned, we're going to set up a twin bed (the room is a mirror image of ours and plenty big enough!) -- something for the occasional out of town guest or nights when mom and dad need a little extra help from Beema! I just love this girly-yet-modern bedding combo:

Image Via

Image Via

I have a few other pieces planned including a custom piece of art I commissioned from a friend I'll be sharing with the reveal. With our deadline quickly approaching (2 months!) I am so excited to get started cleaning, organizing, and setting up the nursery for our baby girl, this week!

Kitchen Update | pt. 2

We said a bittersweet farewell to our condo of 6 years in February and moved into 818 - as progress still continues. The term weekend warrior has taken on new meaning to Garrett and me, as to do lists still grow and we anxiously await breaking ground for the addition. We have another new addition as well - a baby girl coming in August! So needless to say we have been busy and an update is long overdue.

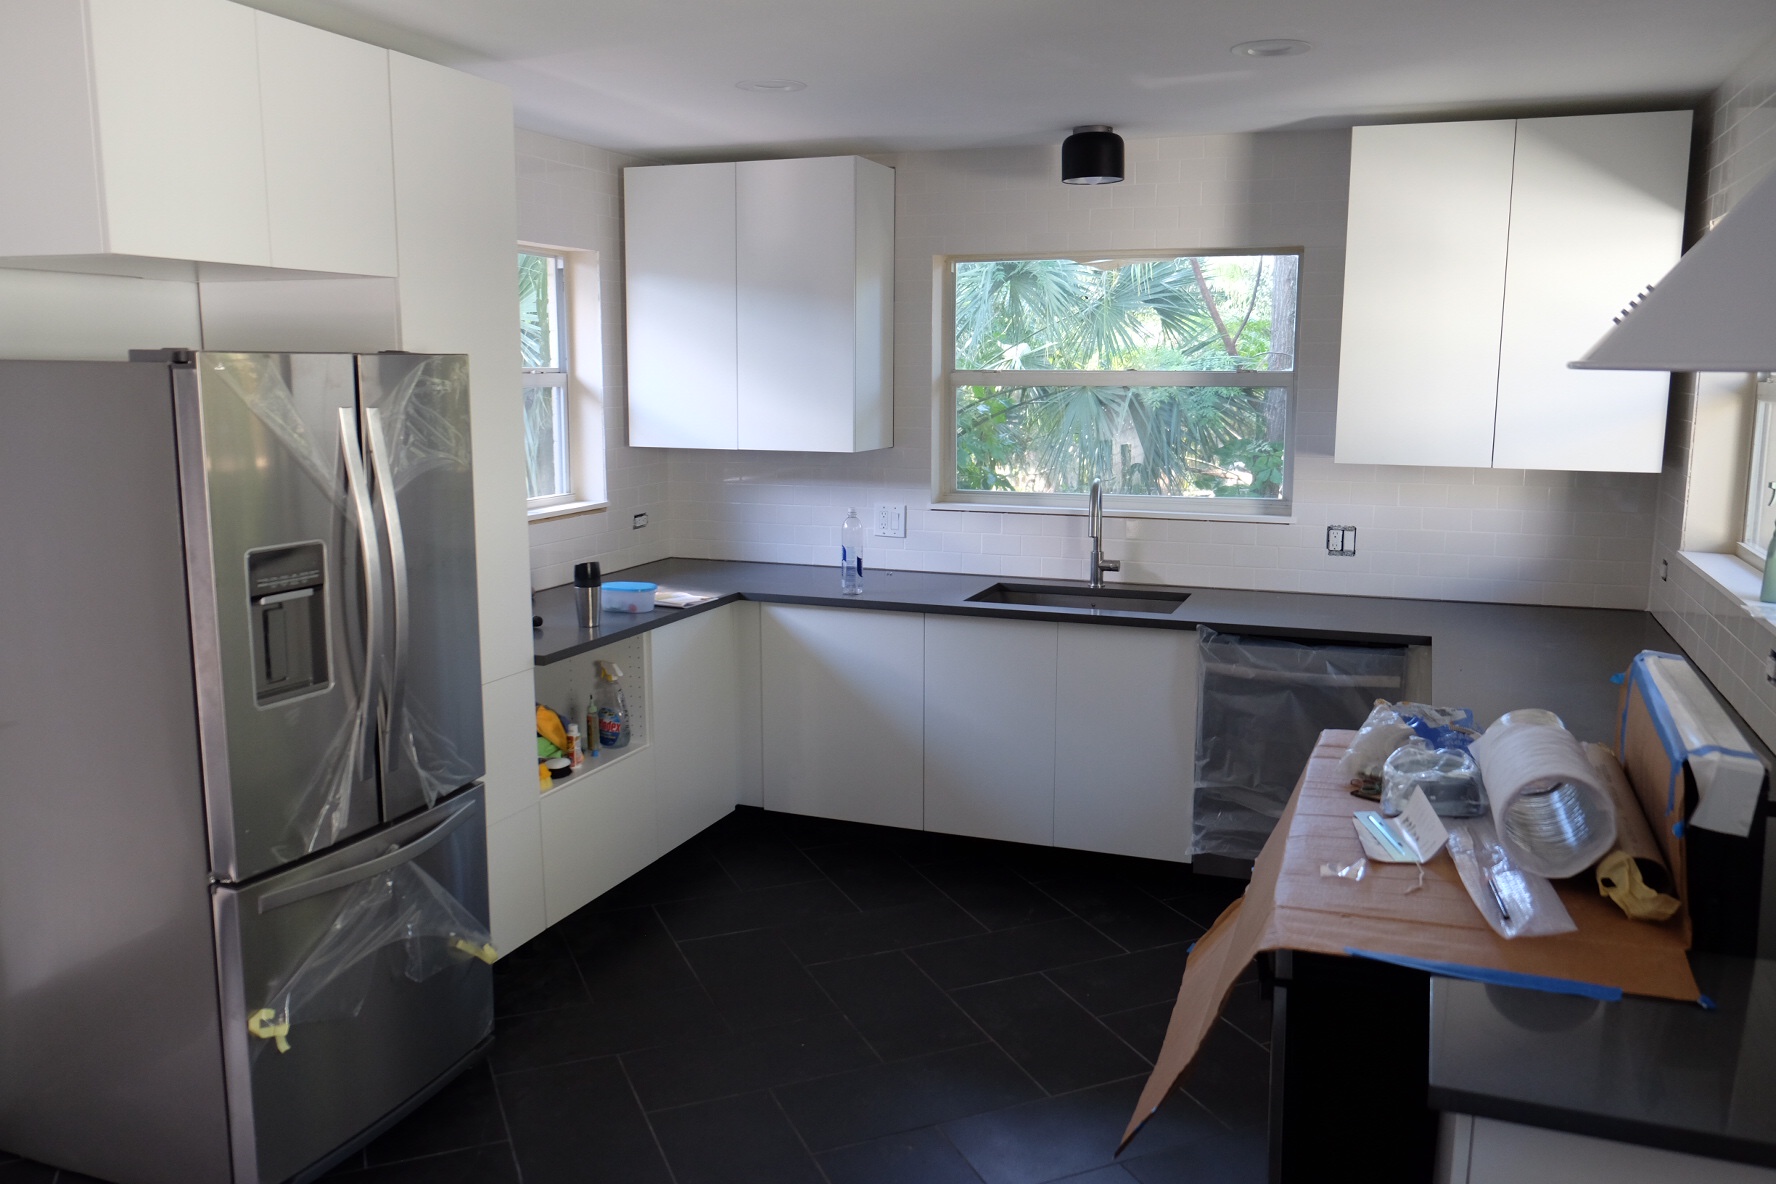
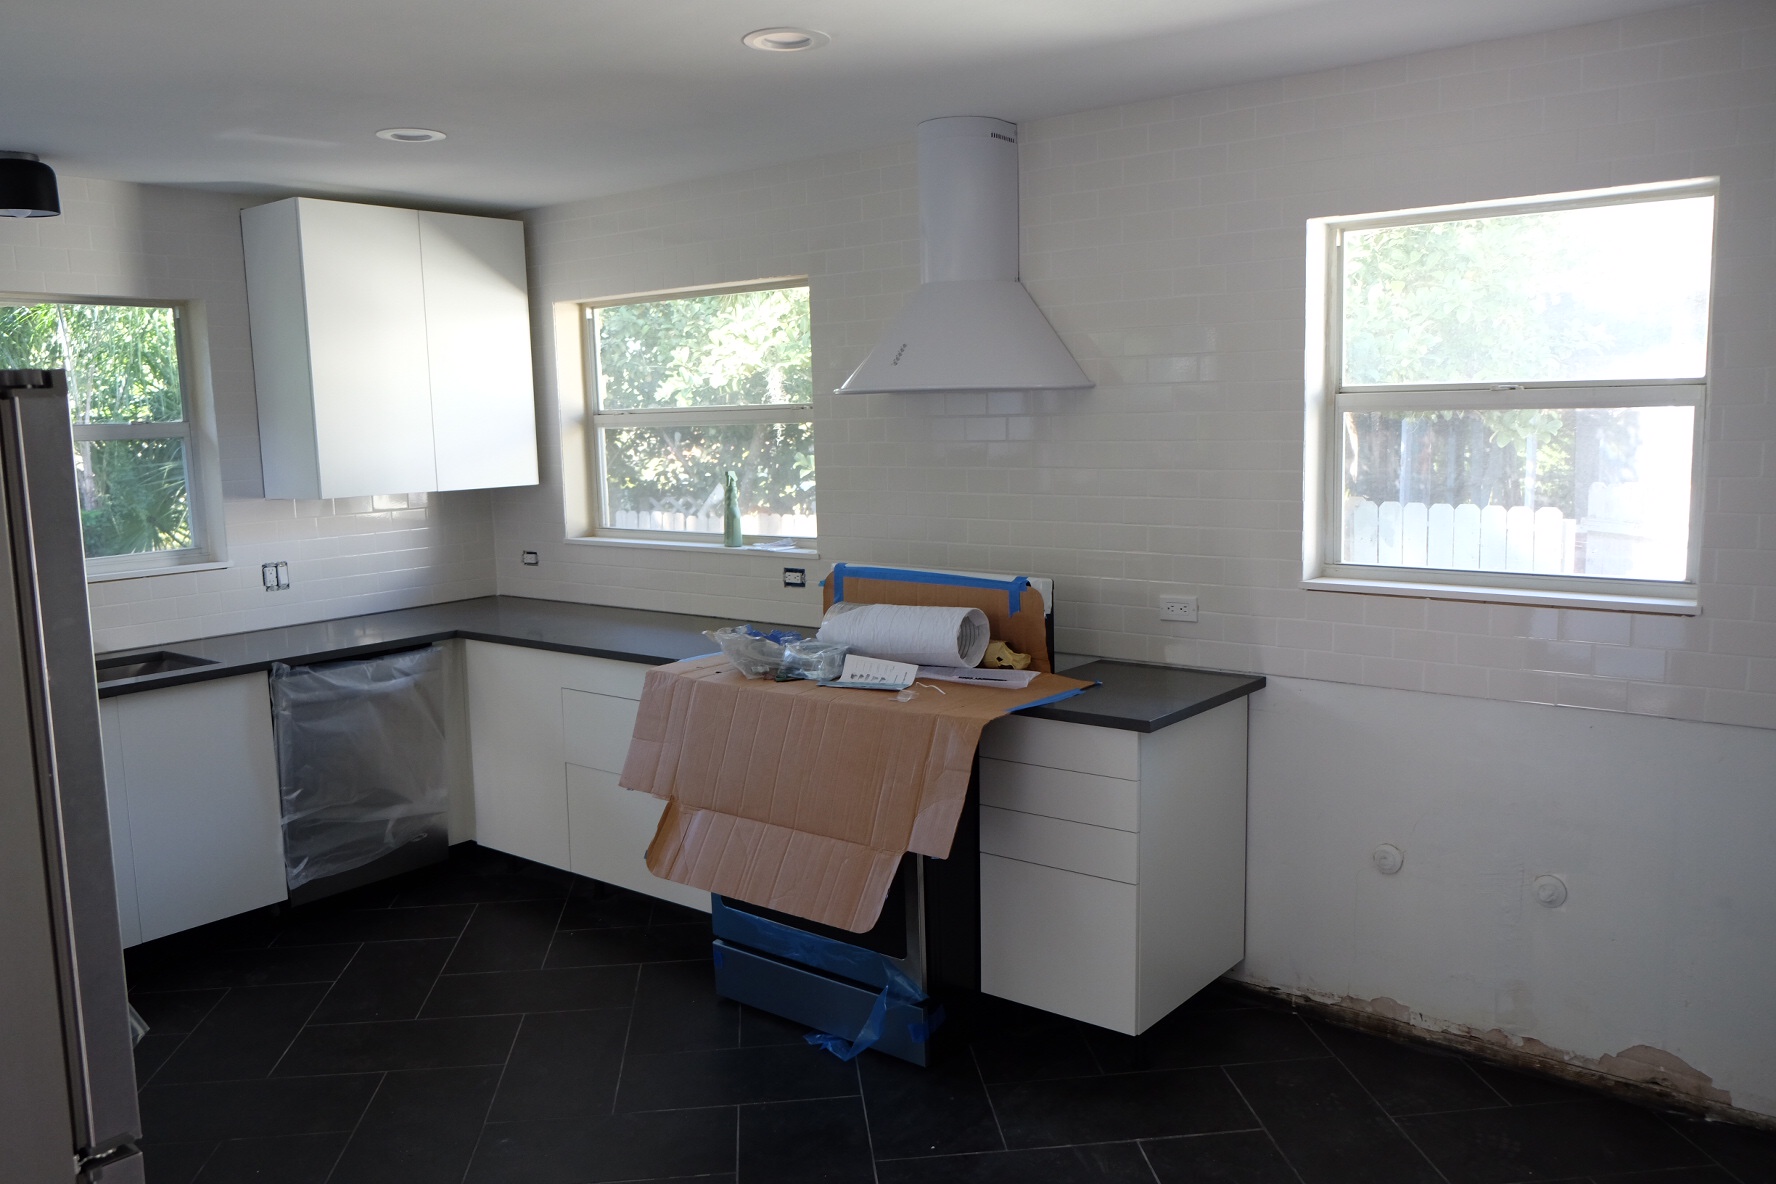
The kitchen is mostly finished, but I wanted to share the progress we made pre-move in. 

818_kitchen_counters

First up - counters! Shortly after Thanksgiving our counters were installed by Stone Crazy. Initially I had wanted a lighter gray quartz, but we opted for Caesarstone 2003 Concrete, not wanting the counters to feel washed out in an all white kitchen and also wanting them to hold their own against and balance the black floors. 

818_kitchen_counter-samples

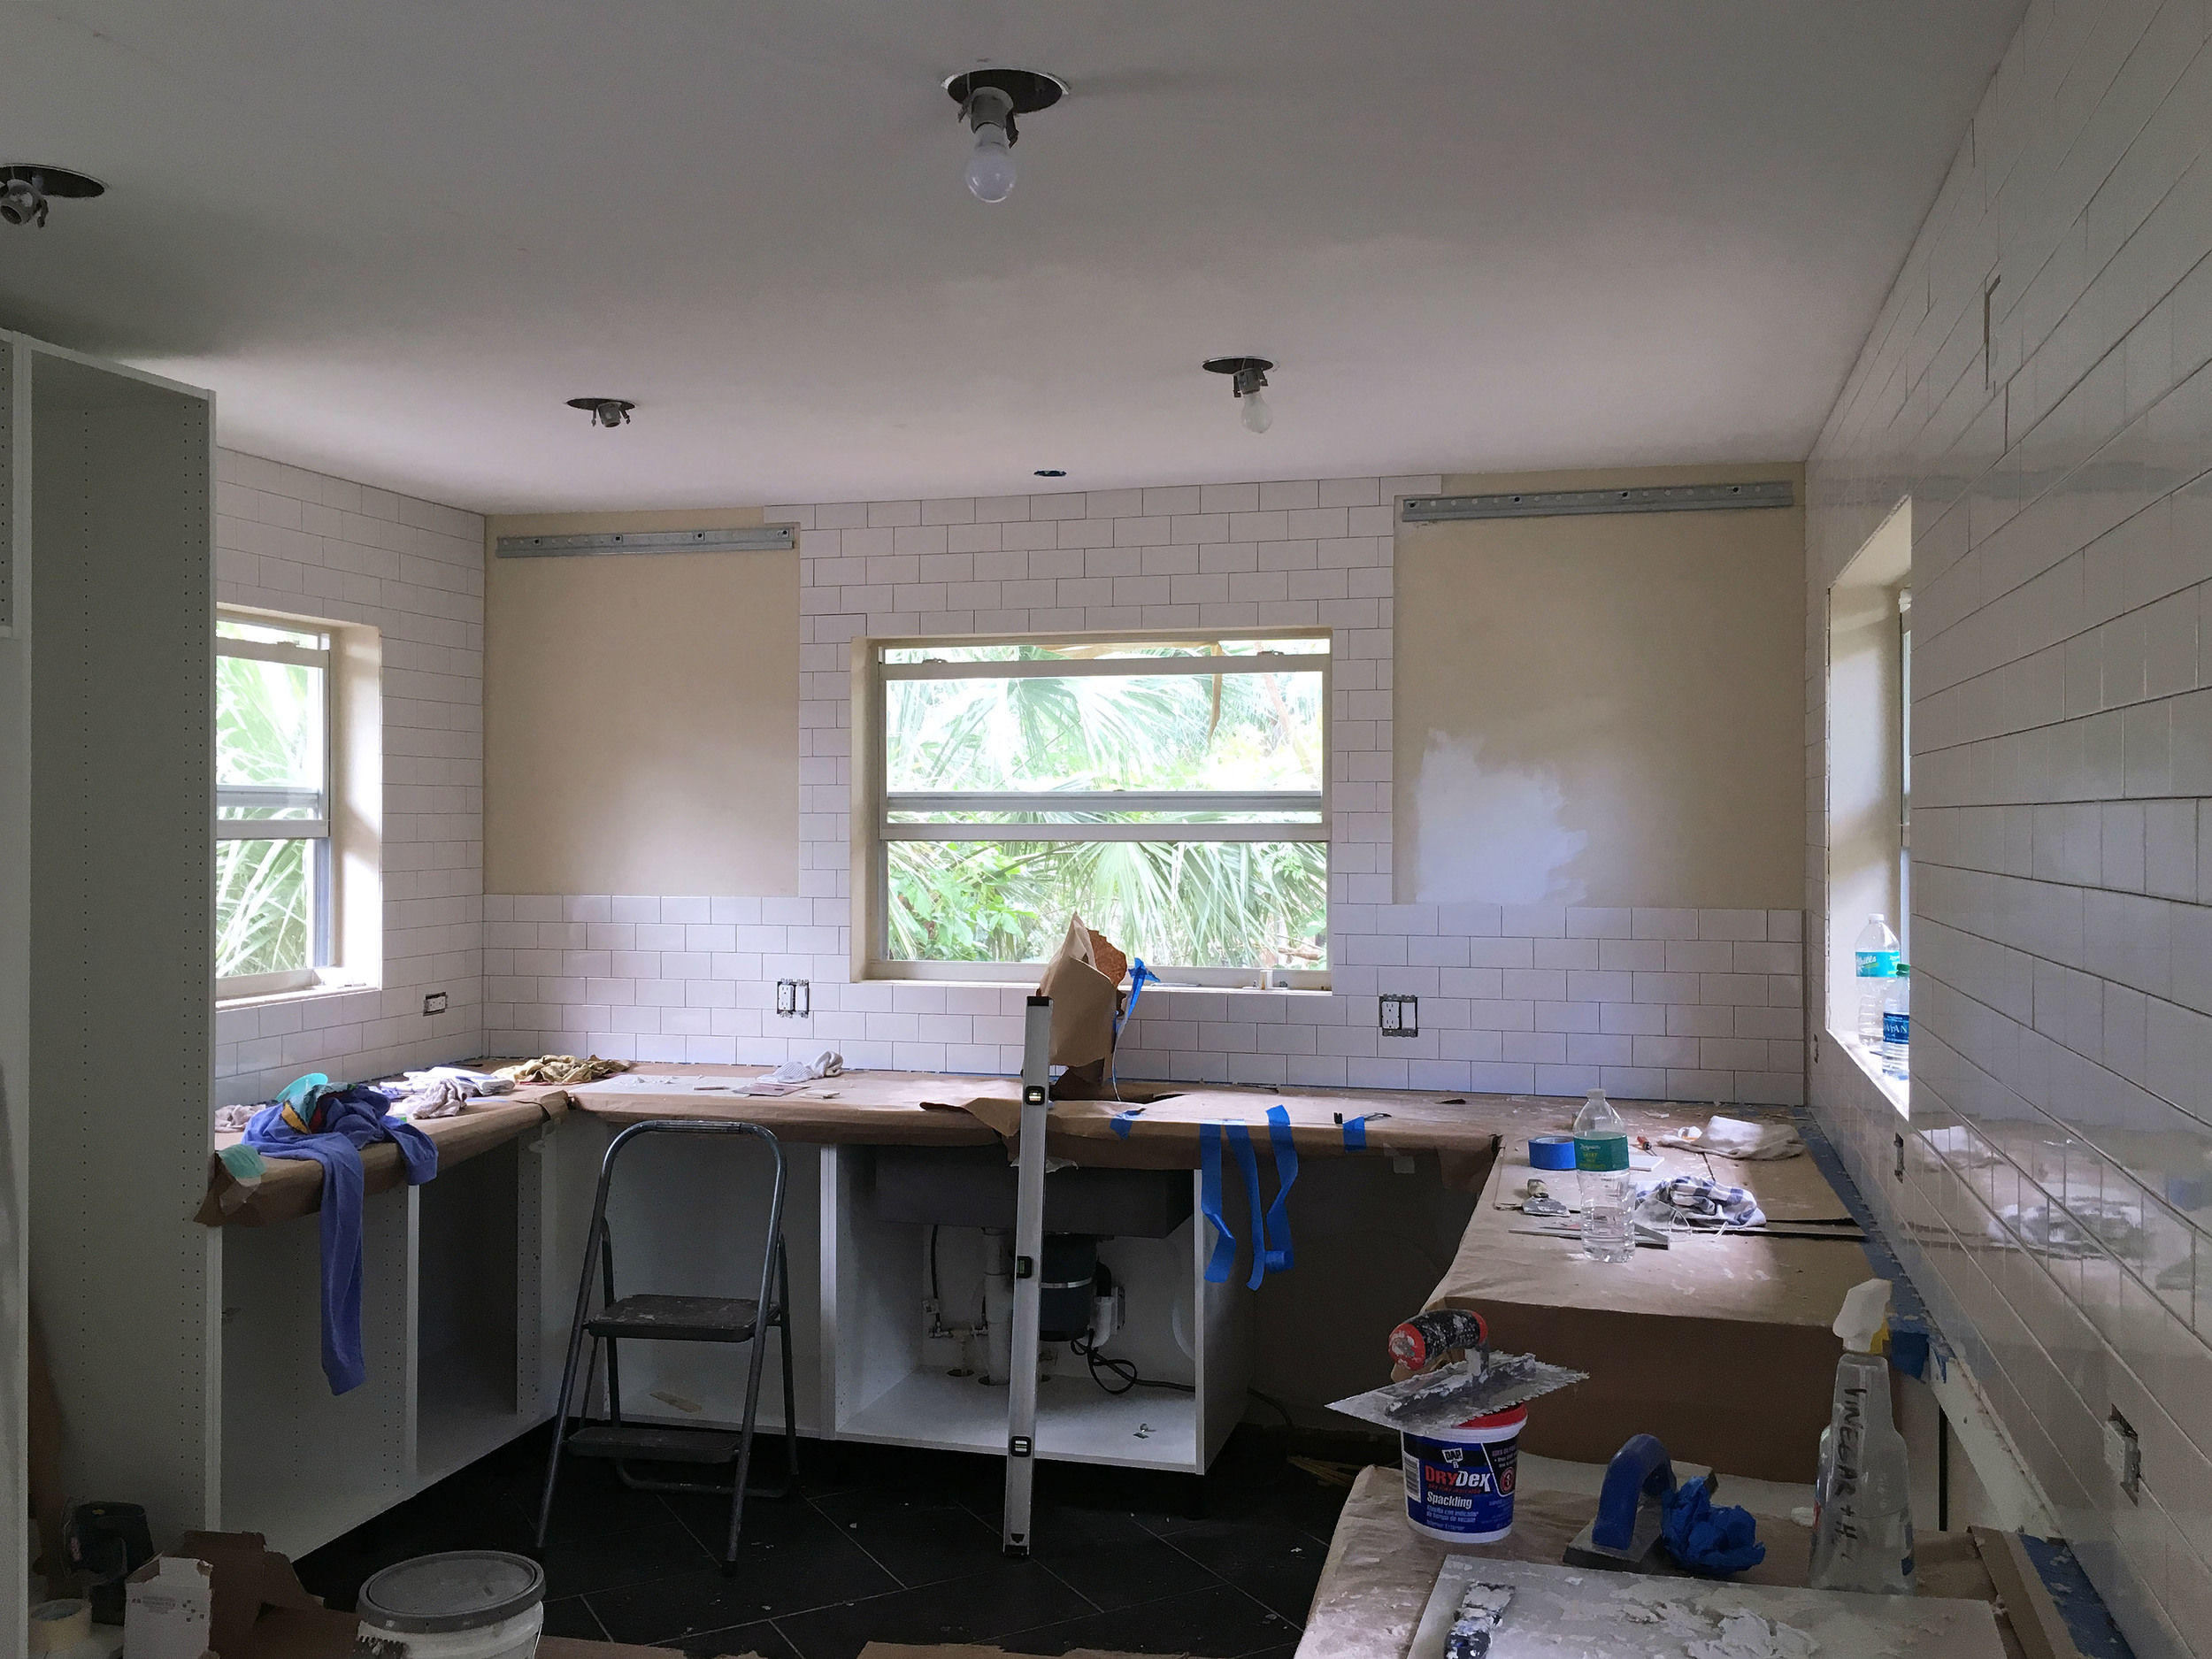
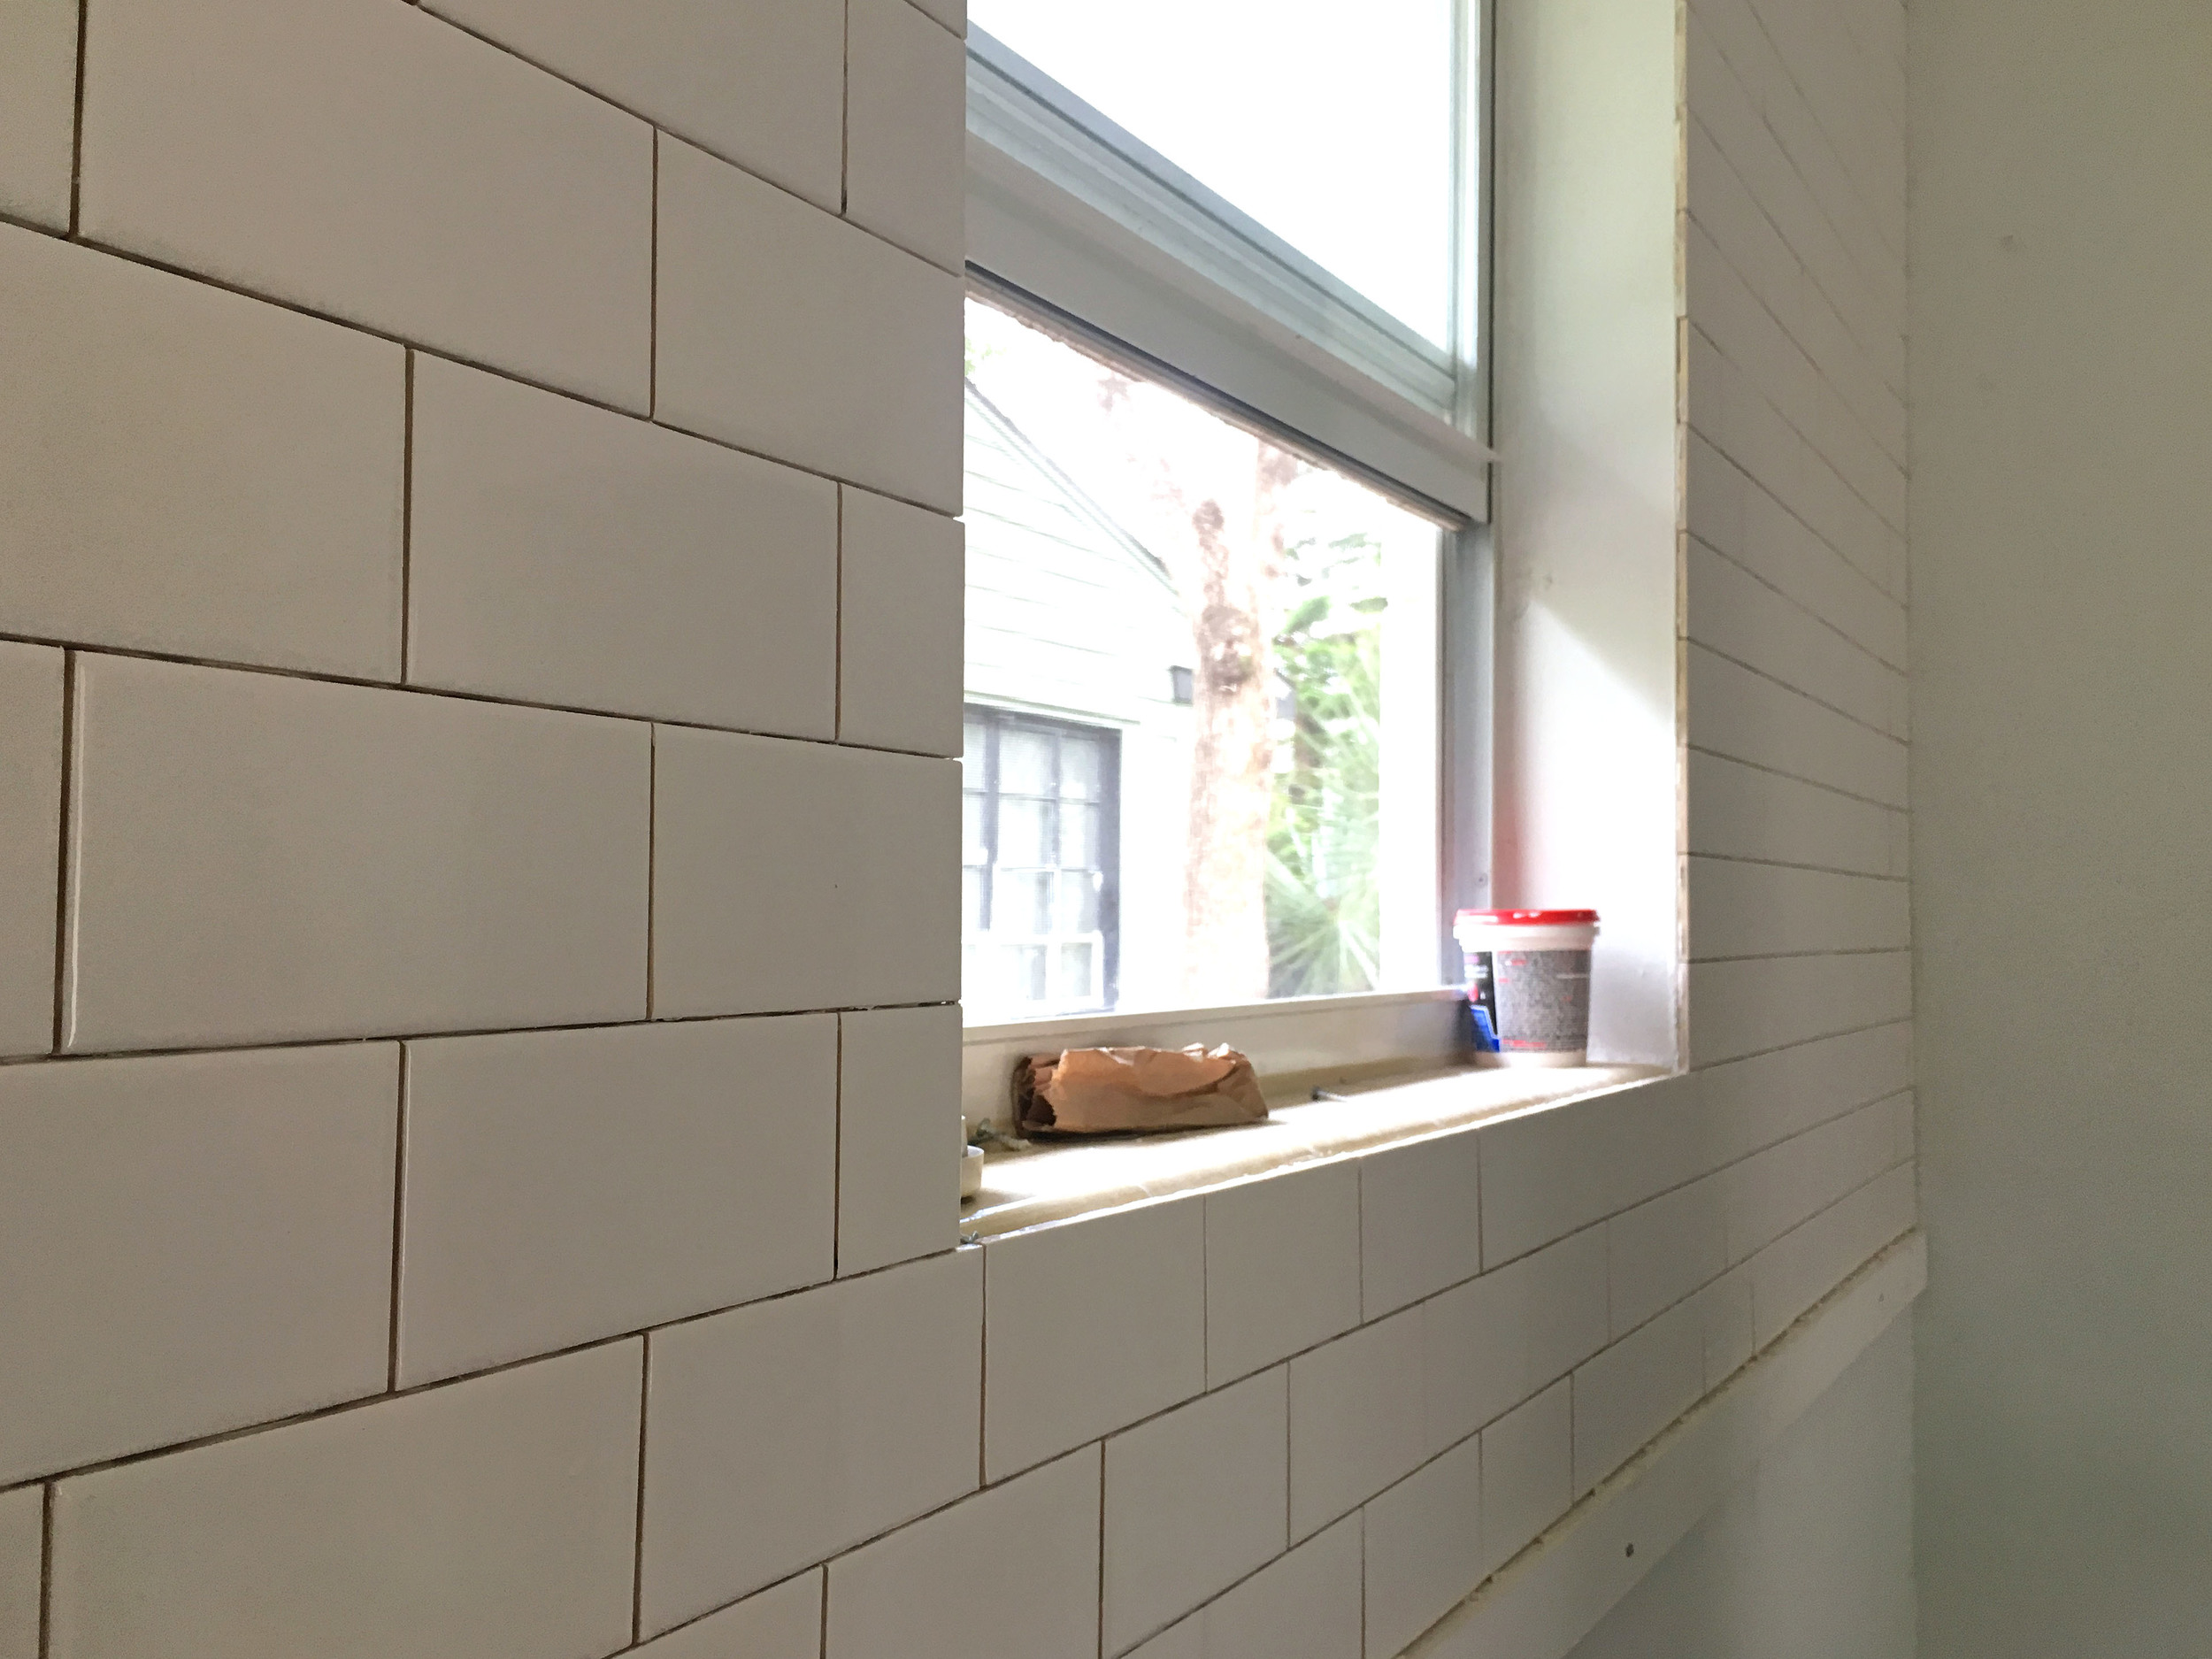
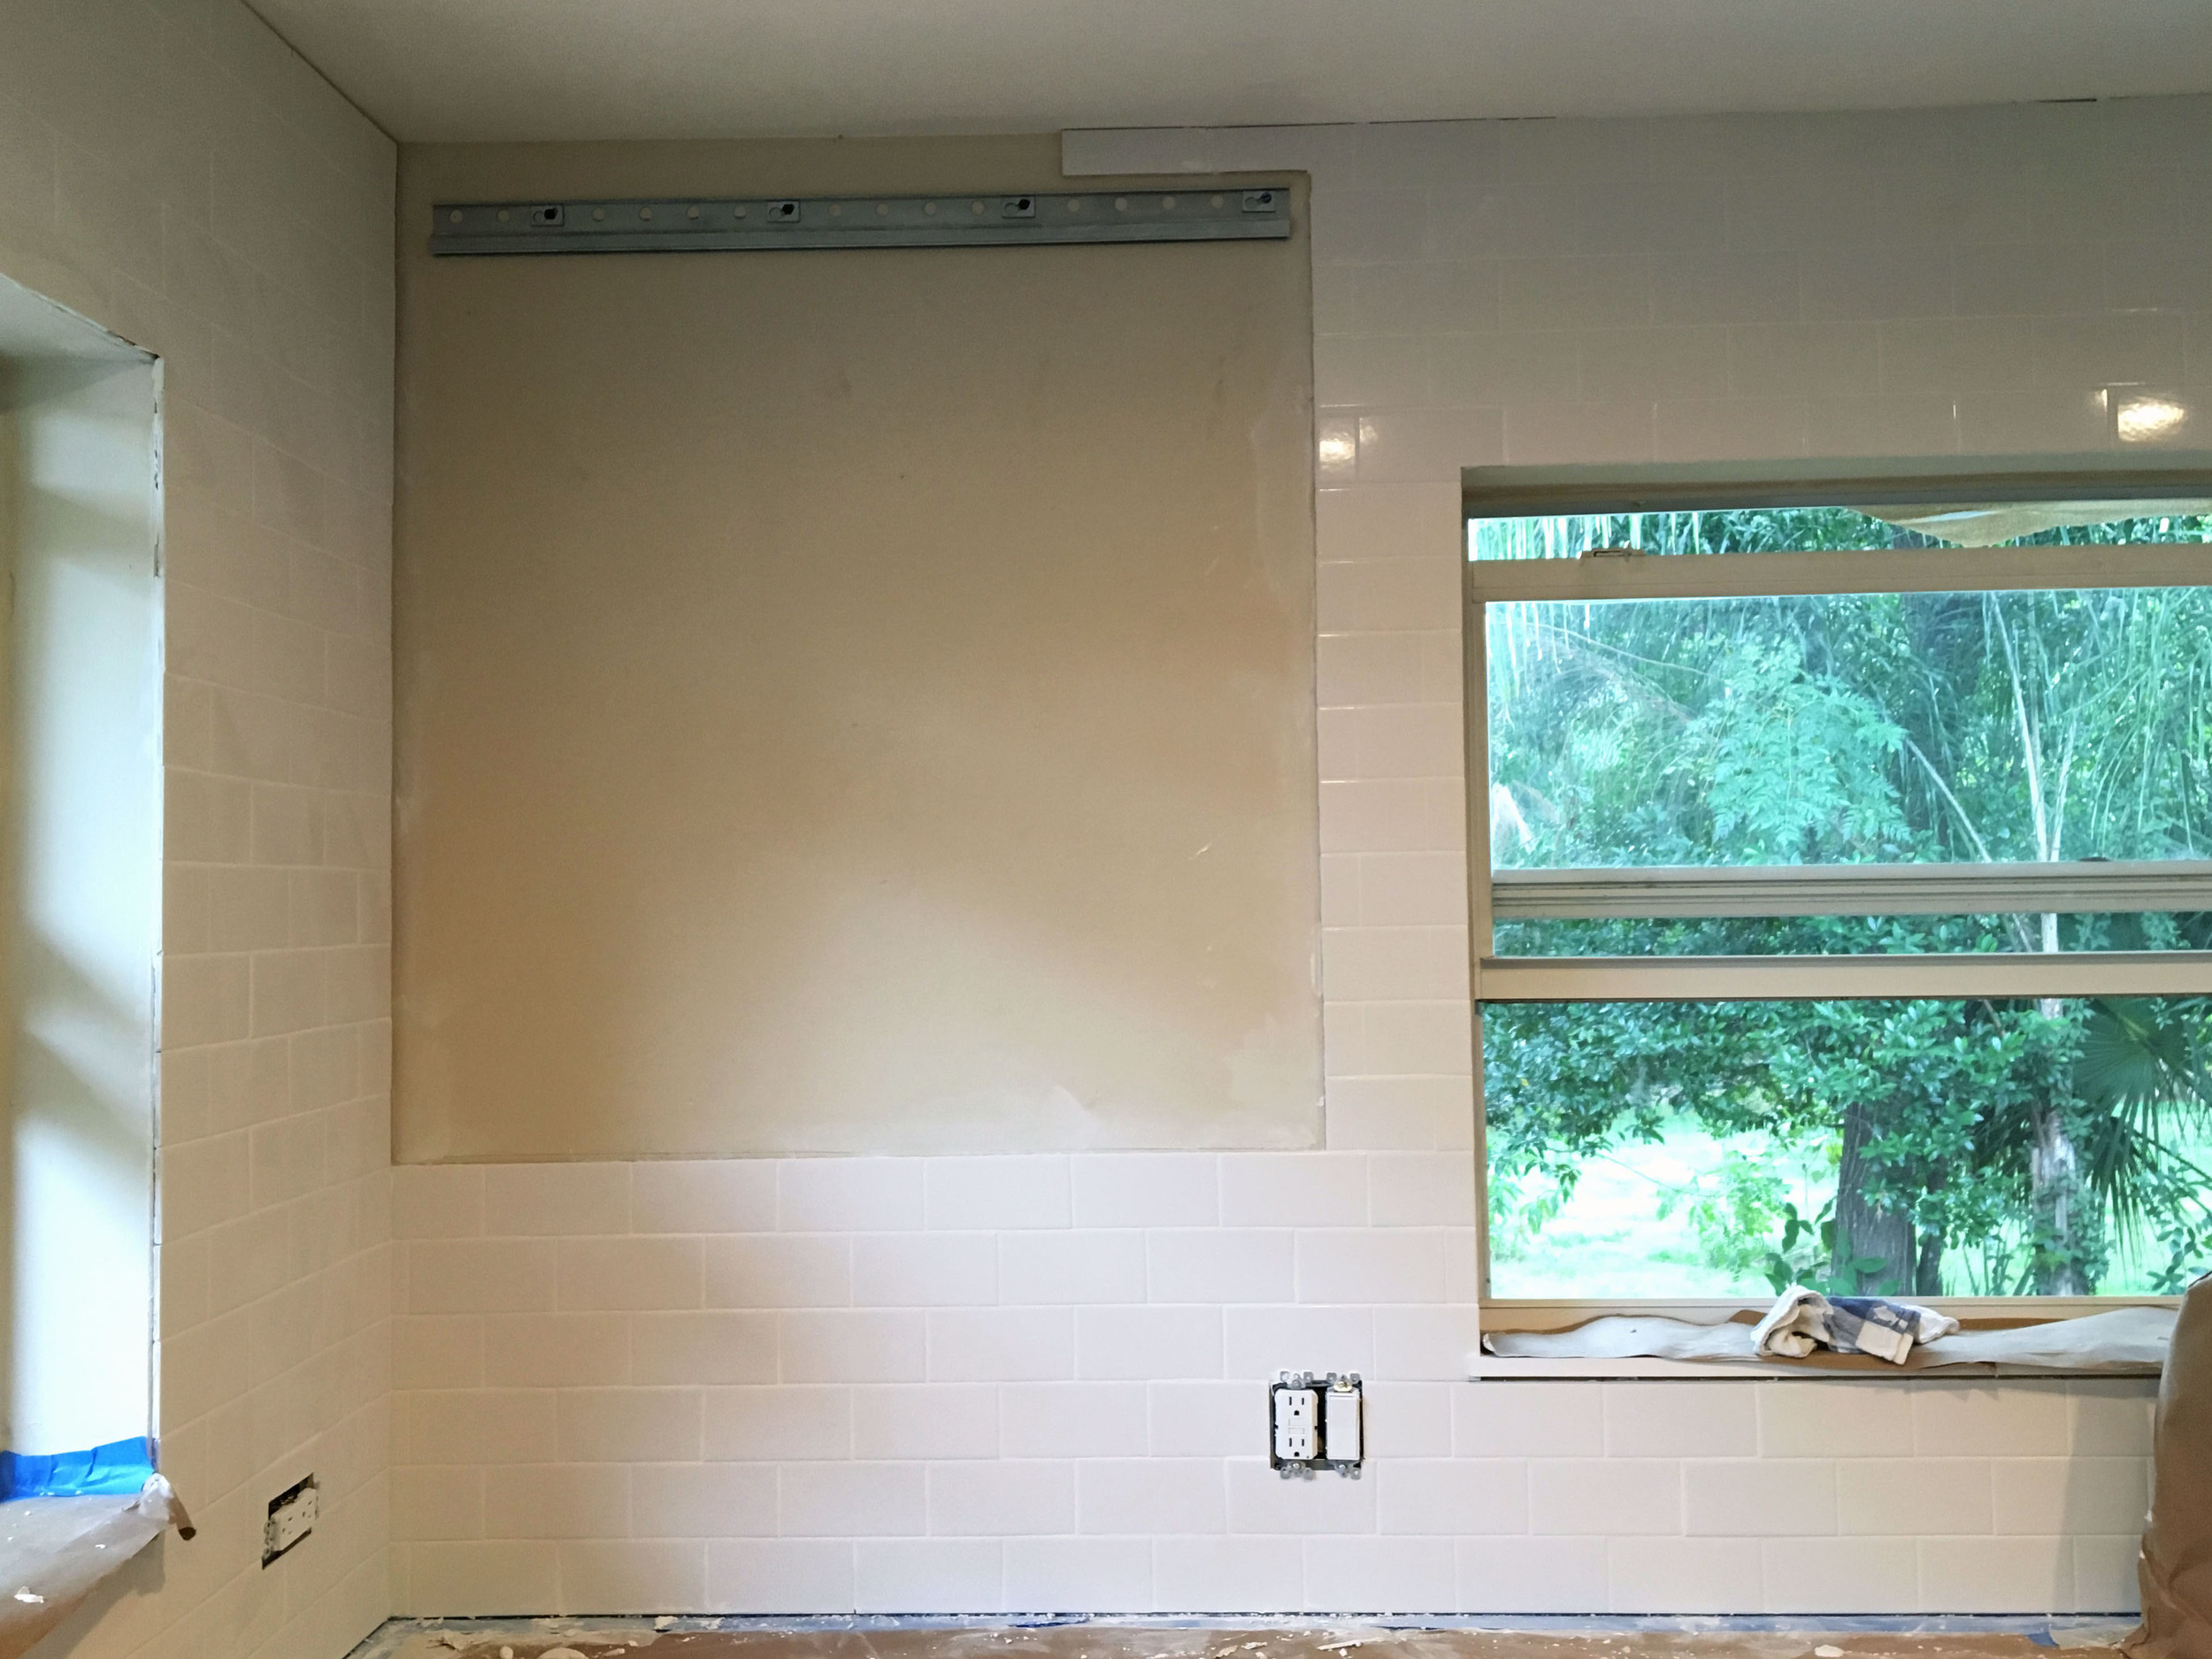
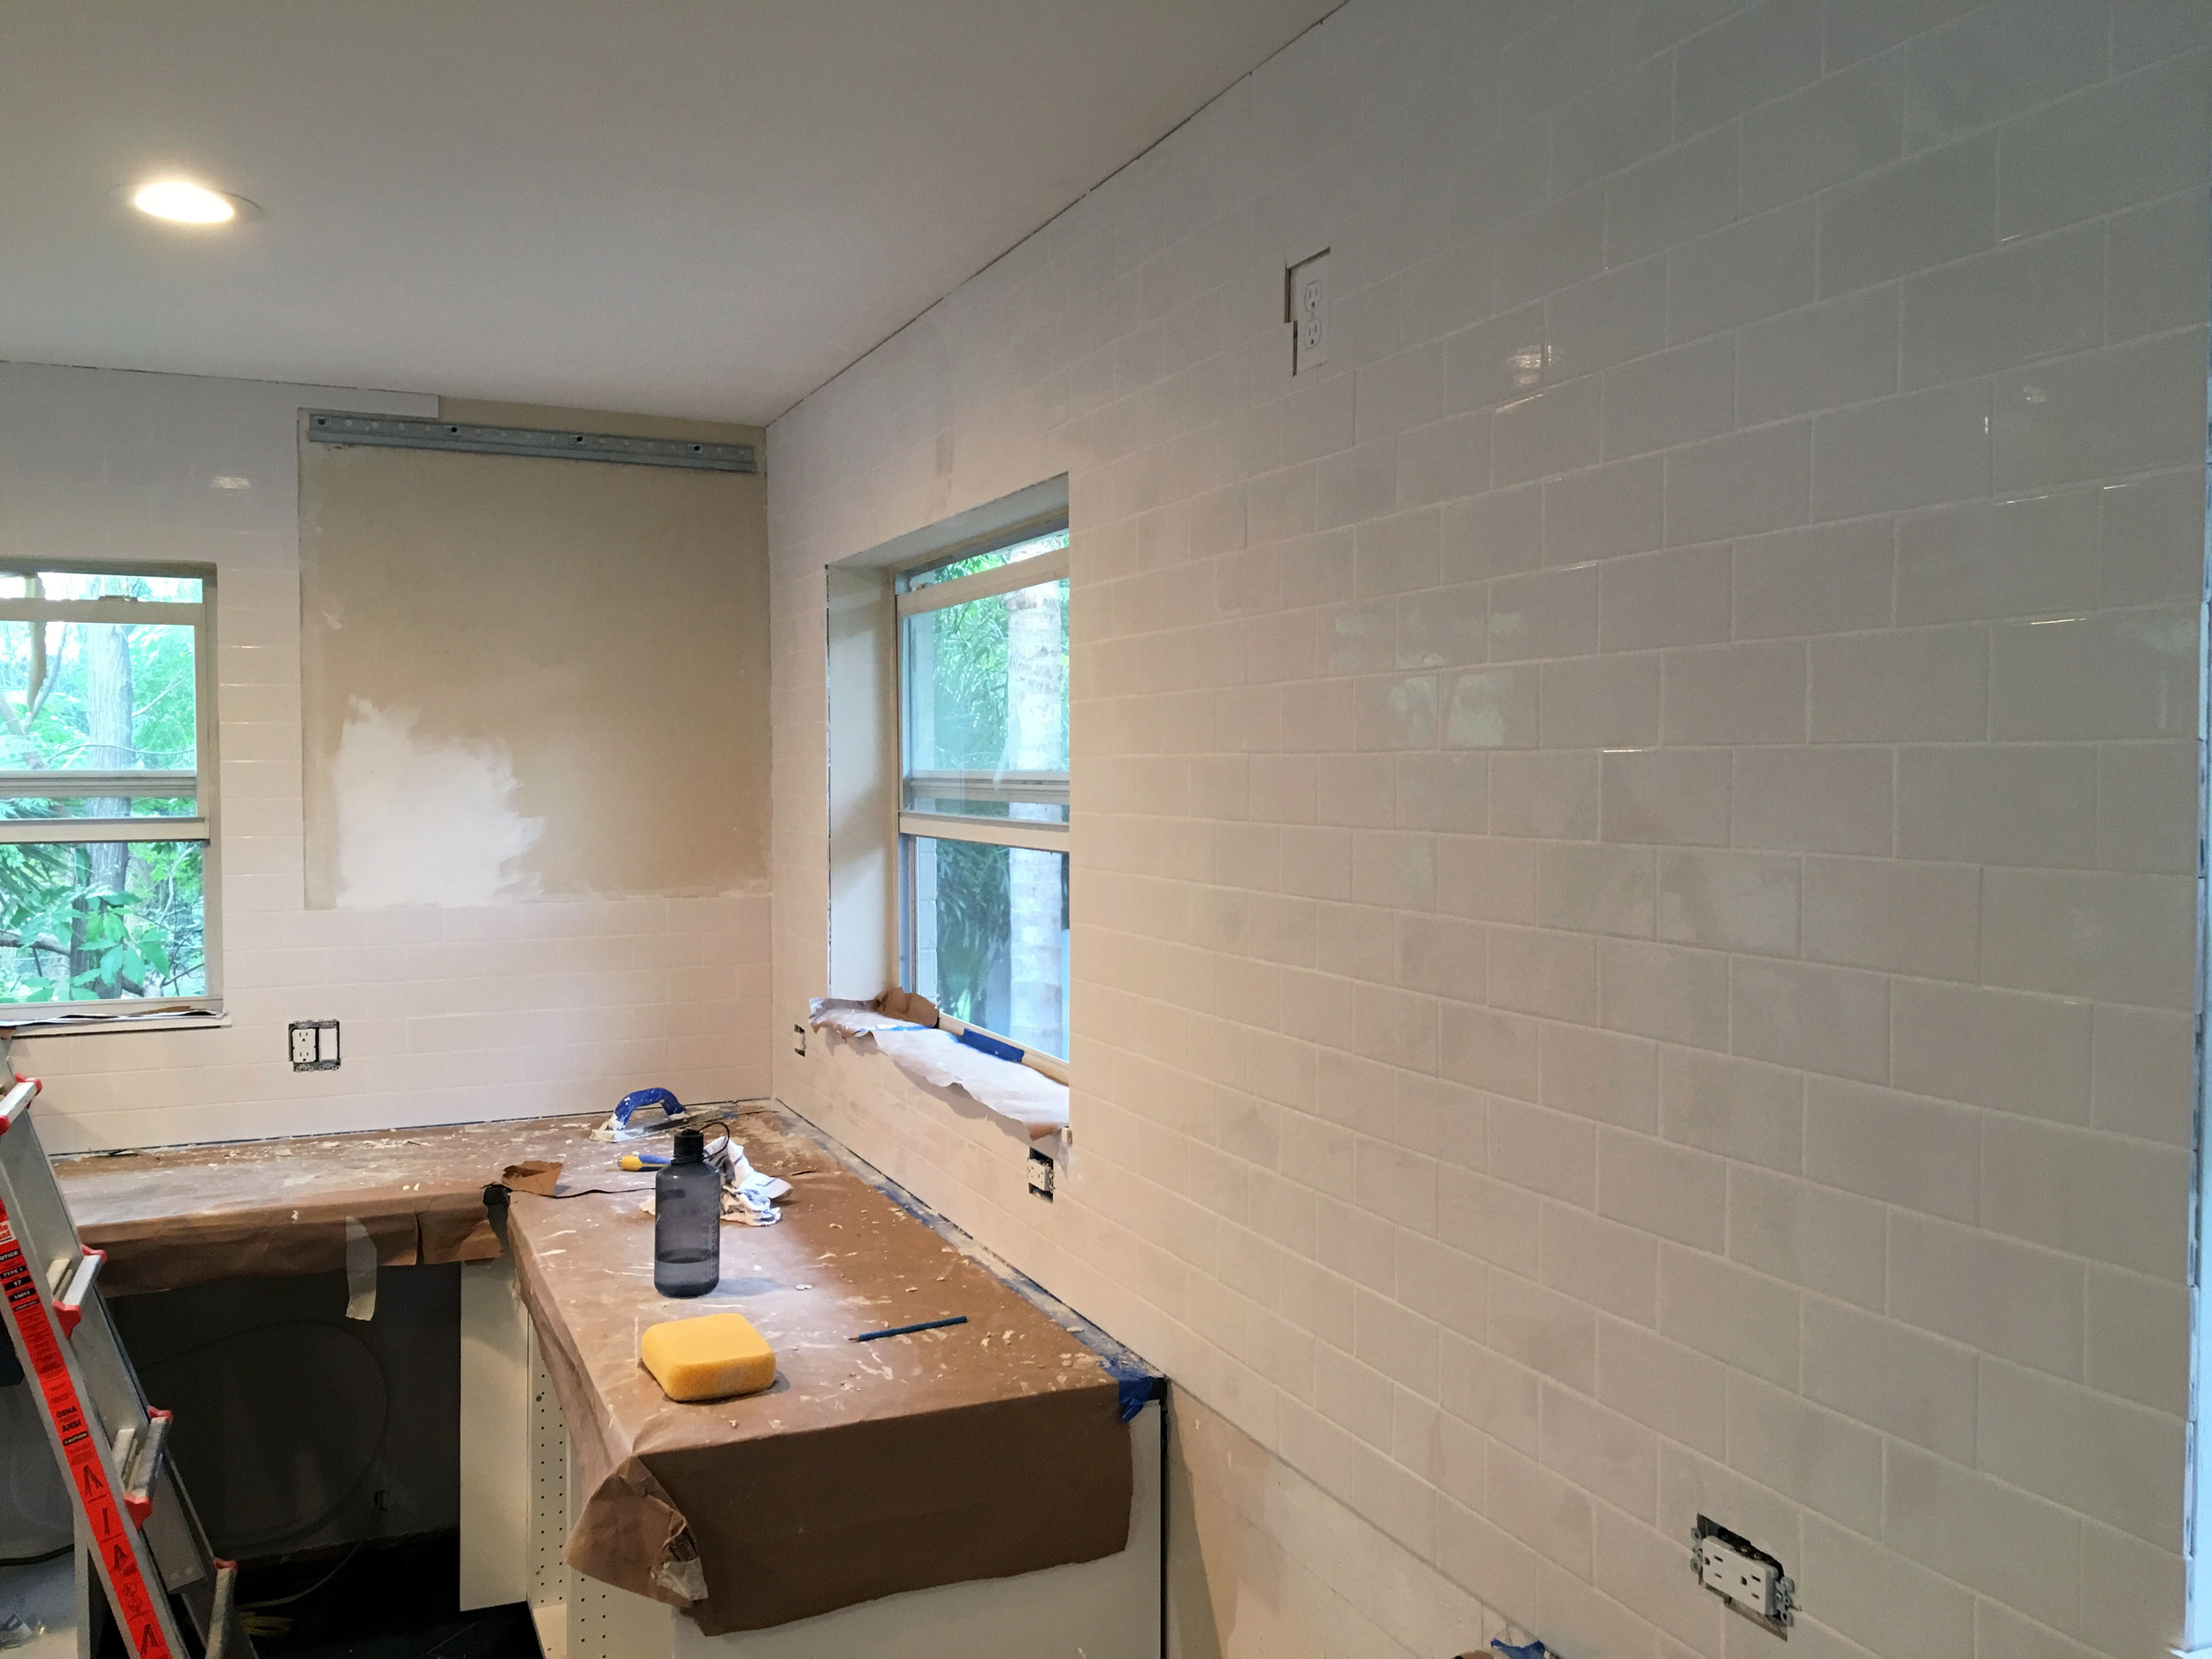
We couldn't be happier. Once the counters were in we set our sights on tiling the blacksplash, or rather walls. I have always been partial to counter-to-ceiling tile, eliminating any awkward material changes. 

We spent a couple weekends tiling and then my brother leant Garrett a hand grouting. Wanting a clean look, we opted for white grout, making sure to seal it to protect against staining. 

With the tile in, it was time for doors, drawers, and pulls - more Ikea fun! It became systematic and not too bad. We even had my cousin and her husband lend a hand over Christmas. 

And making this kitchen, err house, livable -- appliances. We purchases these during a Labor Day sale and had them packed in boxes, sitting in our living room for an embarrassingly long time. Needless to say, it was very satisfying to have them installed. 

There are still quite a few finishing touches to add as well as the corner banquet, window sills, and a bi-fold door to hide the washer/dryer -- and yet -- so close!

Planning an update soon with more on our dining room plans and screenwall progress.

Addition Plans

Big news! We got our permit for our small bathroom and home office addition. As a once-upon-a-time intern architect - I am so excited!  

The two main constraints that dictated the design were one, budget (aka how can we do this as inexpensively as possible!) and two, setbacks. For the setbacks, we were fortunately able to receive a letter of modification from the City for 5' on the side (in line with existing structure) and 20', rather than 25', to the rear. This gave us 11' to work with. To minimize costs, we chose to keep the existing structure relatively untouched. We are blocking in a window and enlarging an existing one. A doorway will be cut into the rear back wall that will lead to the home office and master bath.

Before deciding on this layout, I explored a few additional options, shown below.

In option 1, the new bathroom replaced the existing closet, placing it adjacent to current bathroom and allowing it to tie in to its plumbing. However, this meant taking down the rear wall and thus making changes to the existing structure ($$$). We would be building out not only a new bathroom, but also new closets (again, $$$). And - not to mention - the office was really only a nook.

So on to Options 2 and 3, which both kept the existing closet and rear wall. For option 2, I explored having a separate entrance to the office and bathroom, but this meant moving the bed to the opposite wall which left very little room to maneuver. Option 3 is the most similar to what we settled on - though more modest. Adding just a couple extra feet to the design meant an office for two and a little more breathing room in the bathroom. And so voila, we arrived at the above floor plan. In the winning design, the wing wall will not only hide our desks, but provide the perfect spot for dressers - and as you can decipher, furniture placement too, was a big consideration!

For the office, I want a streamlined, simple, and organized space. Poor Garrett's been threatened over and over about not cluttering the desk (his current work-from-home habits may leave a bit to be desired; I've even made him promise to read The Life-Changing Magic of Tidying Up...) Below are some inspiration images for the overall look and feel. I was very inspired by the third image and we too will have a floor to ceiling strip window. I am so excited for this little architectural moment. 

Images Via  1  /  2  /  3

Images Via  1  /  2  /  3

For the bathroom, we are continuing the palette from the rest of the house - white, black, and wood. I promise, it won't be boring! We are going to use the same 12x24" matte black tile from the dining room and kitchen, paired with simple white subway tile. Again, some of my favorite inspiration images that capture the palette and essence of the space:

Image Via

Image Via

Images Via  1  /  2

Images Via  1  /  2

More details of material and furniture selections to come, including the master bedroom mood board! 

Kitchen Update | pt. 1

House progress has been a little slow, but steady, as Garrett and I have both been traveling for work. It seems ages ago that we demoed our kitchen with the help of a few friends!

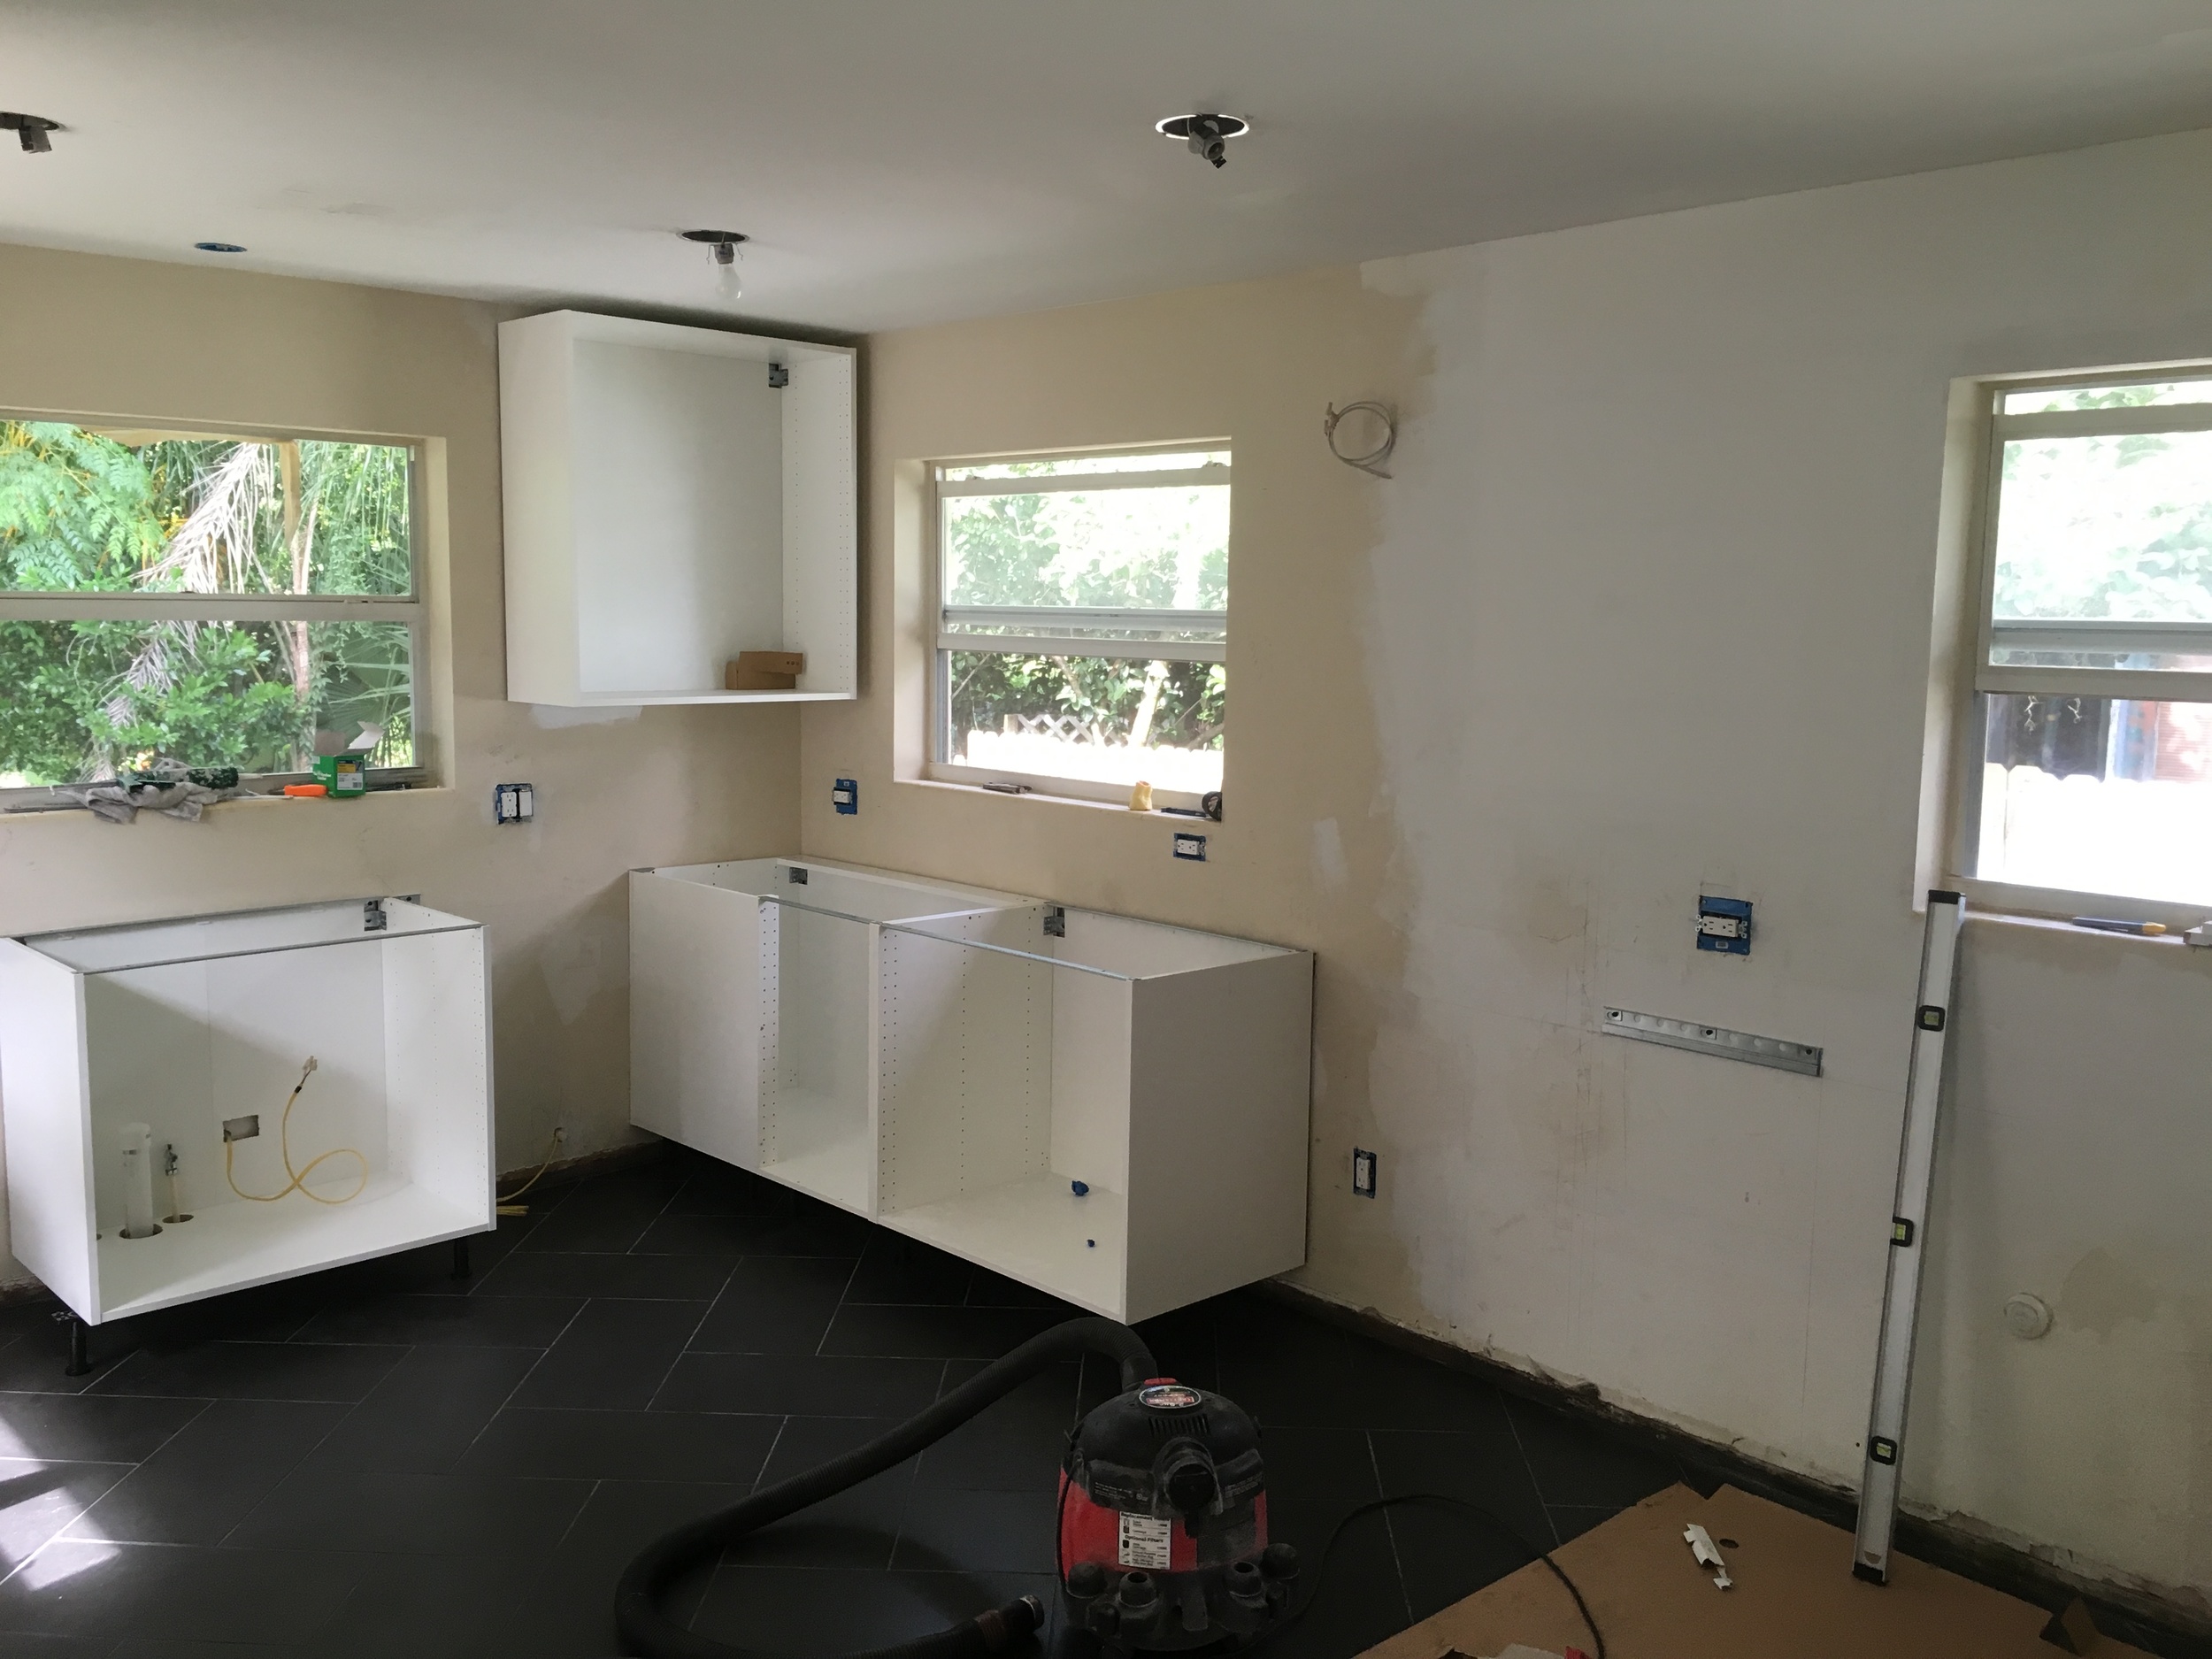
A couple weeks ago we pulled the trigger, rented a Uhaul, and bought our Ikea cabinets! Like anything with Ikea, this too was a process. We first transferred my plan drawing into the Ikea system to generate our shopping list and be verified by an employee. We came back the next day in the Uhaul to purchase and pickup the cabinets. We had to go back 'upstairs' to complete the purchasing. This was followed by an hour of waiting for our many, many boxes to be collated - indulging while we waited in froyo and a cinnamon bun! We checked each box's SKU number as we loaded them in to the Uhaul to make sure we had every.last.piece.

Once home we organized and labeled each box per cabinet, using our initial printout from the Ikea system (not our purchase list, which is arranged per like item). We used the dining room as our staging and assembly area.

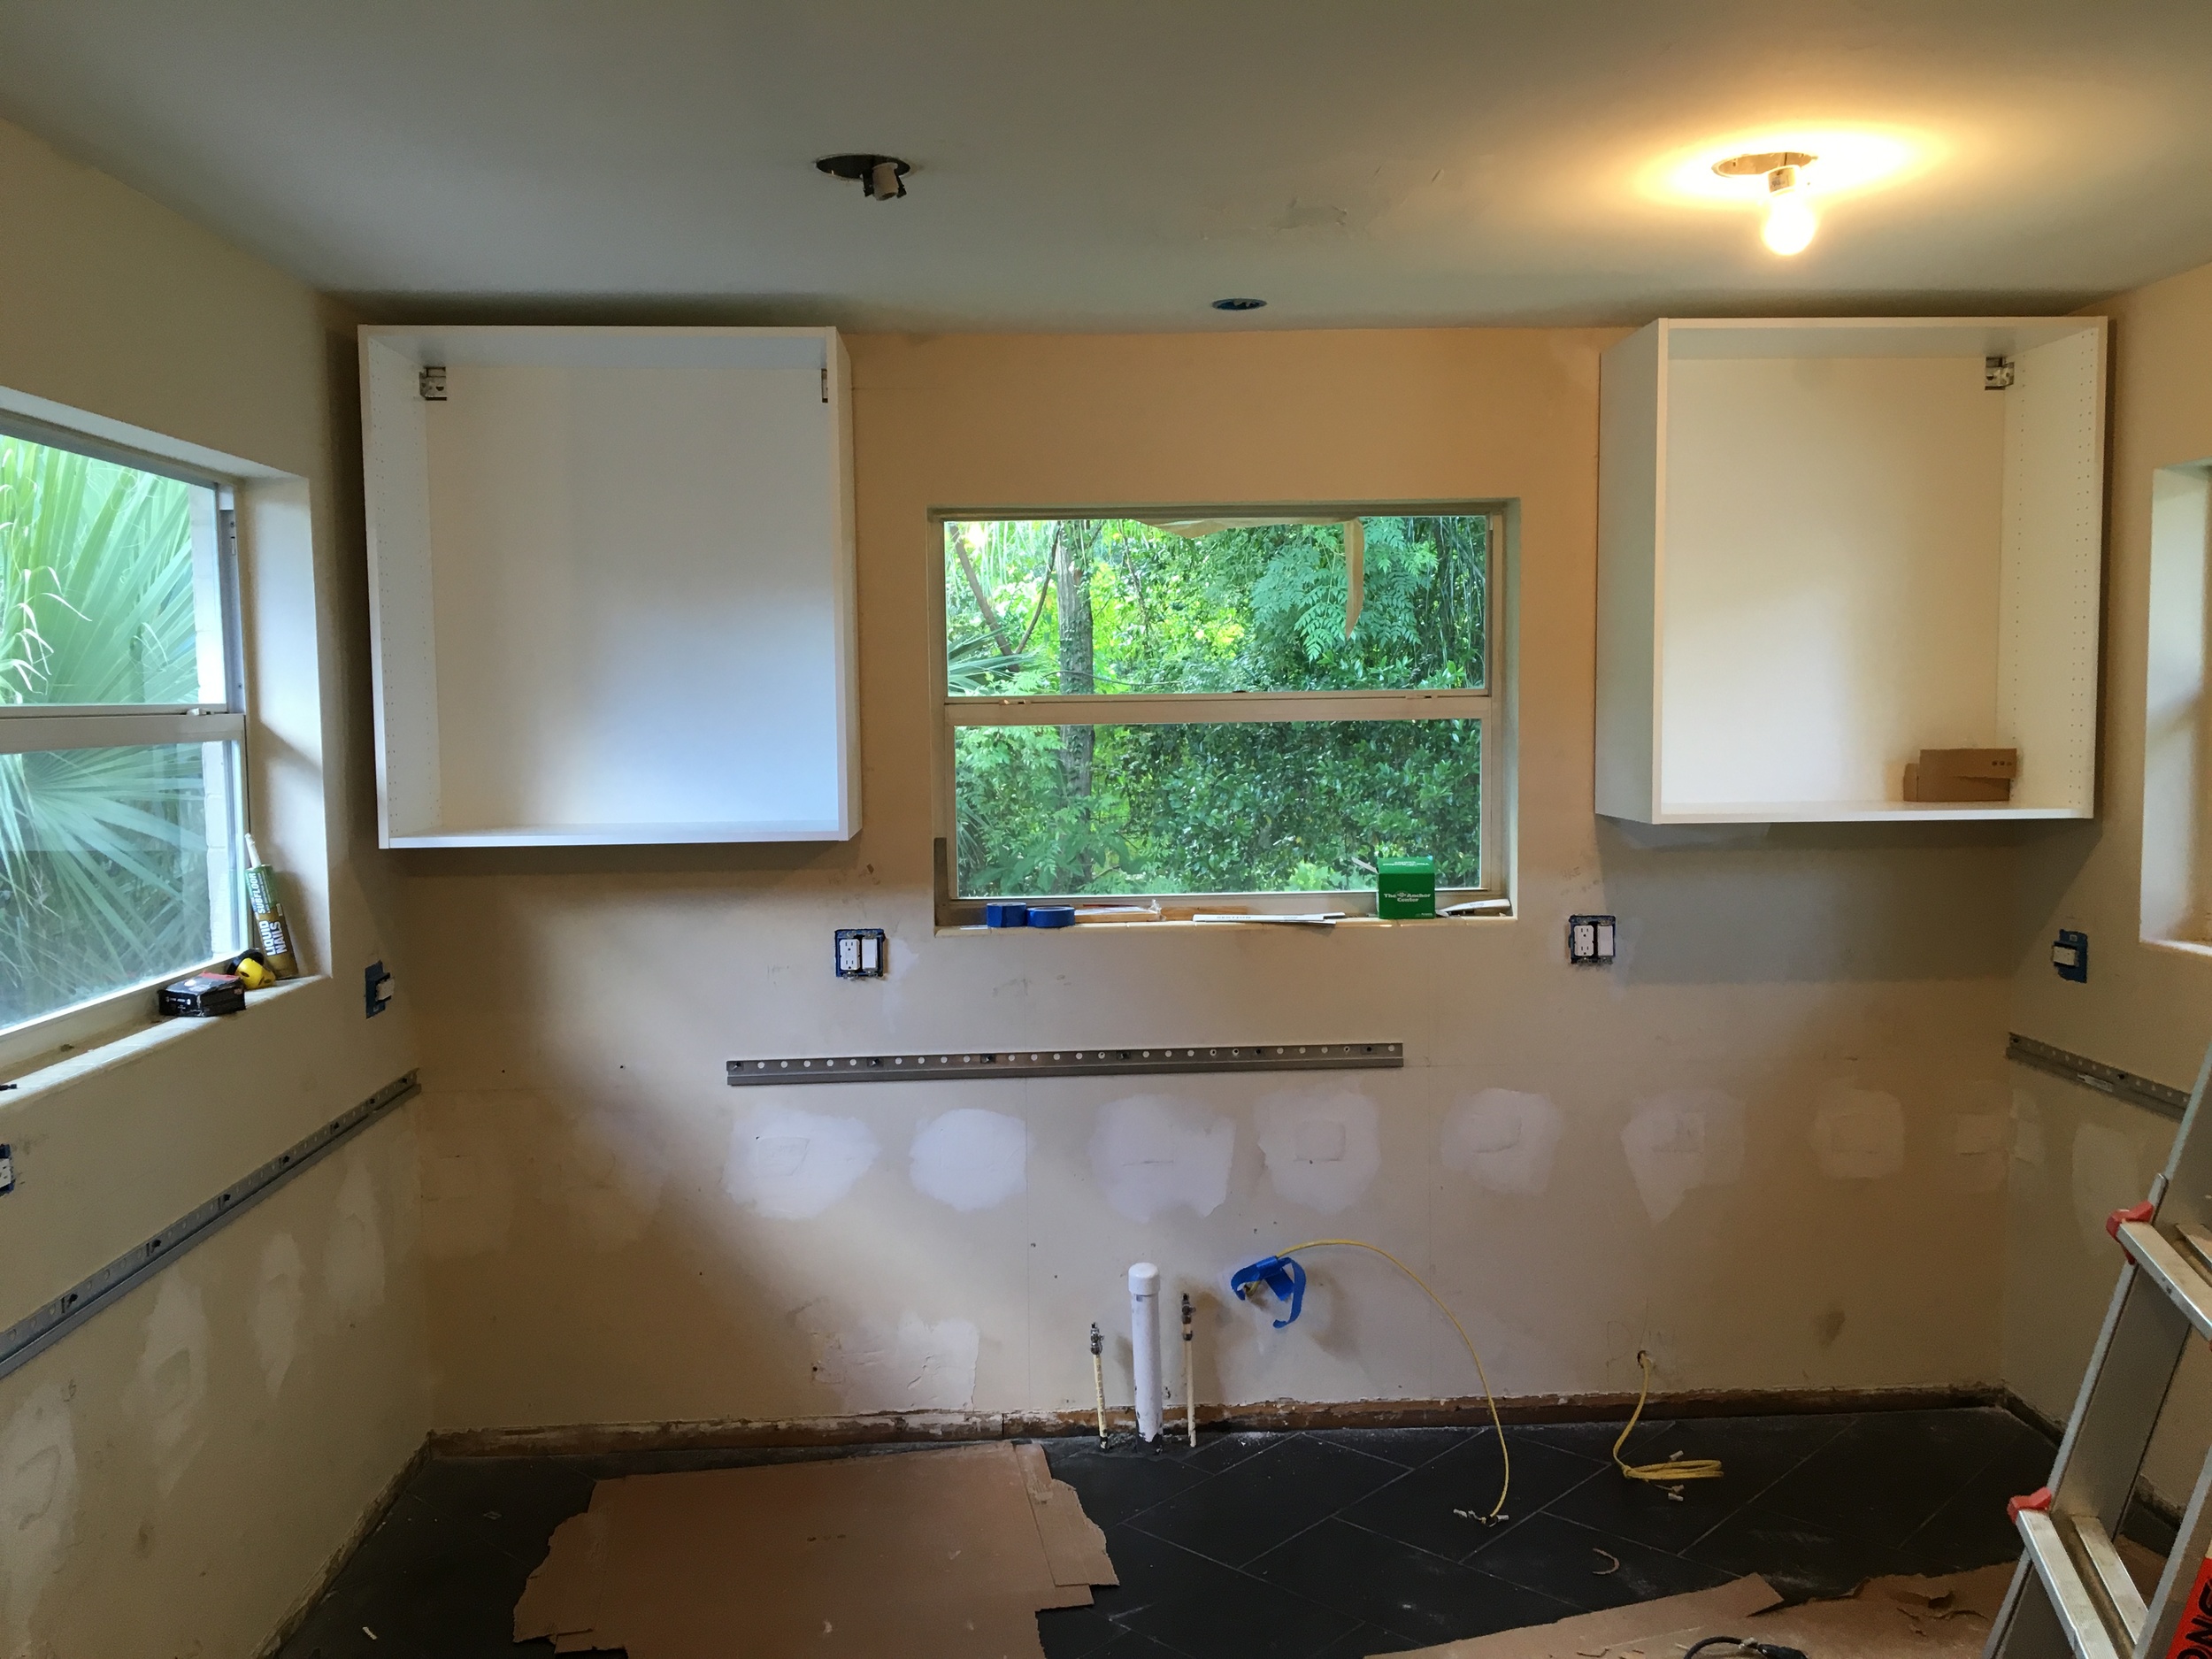
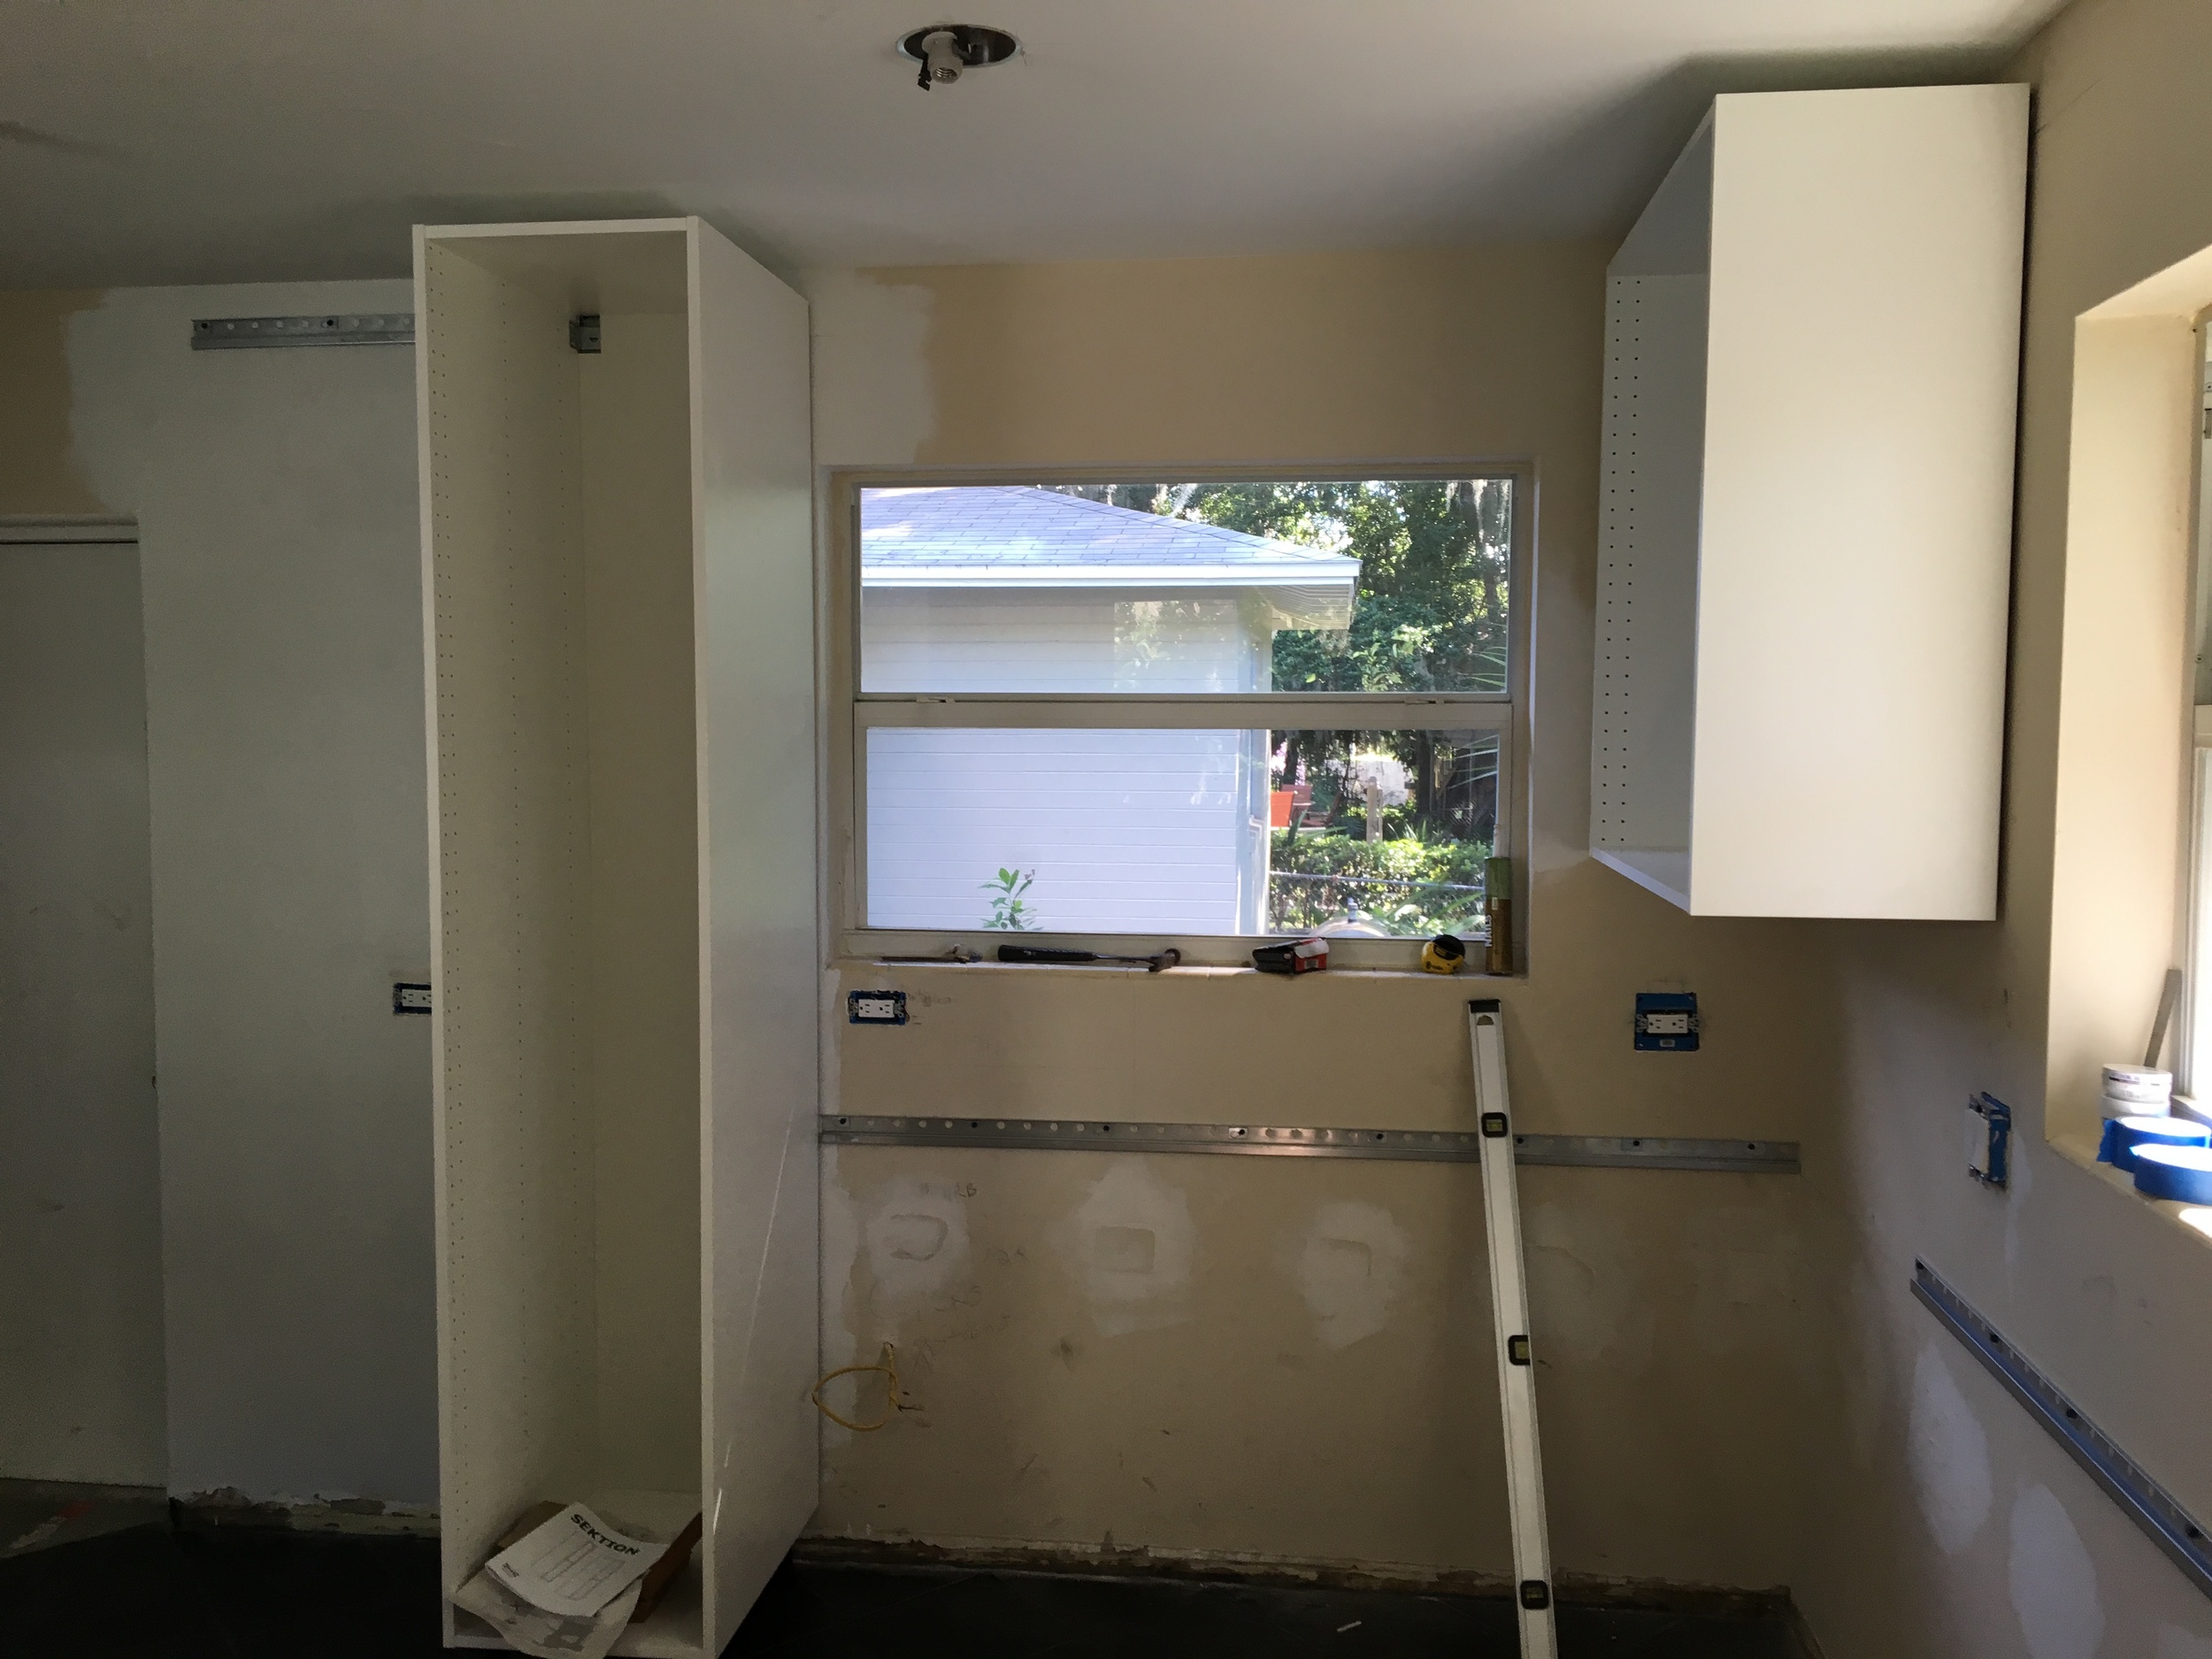
The next step was marking our level lines for the suspension rails. For anyone wondering, as I did - the suspension rails come with their own washers but not screws (as wall types vary), as well as guidelines for heights.

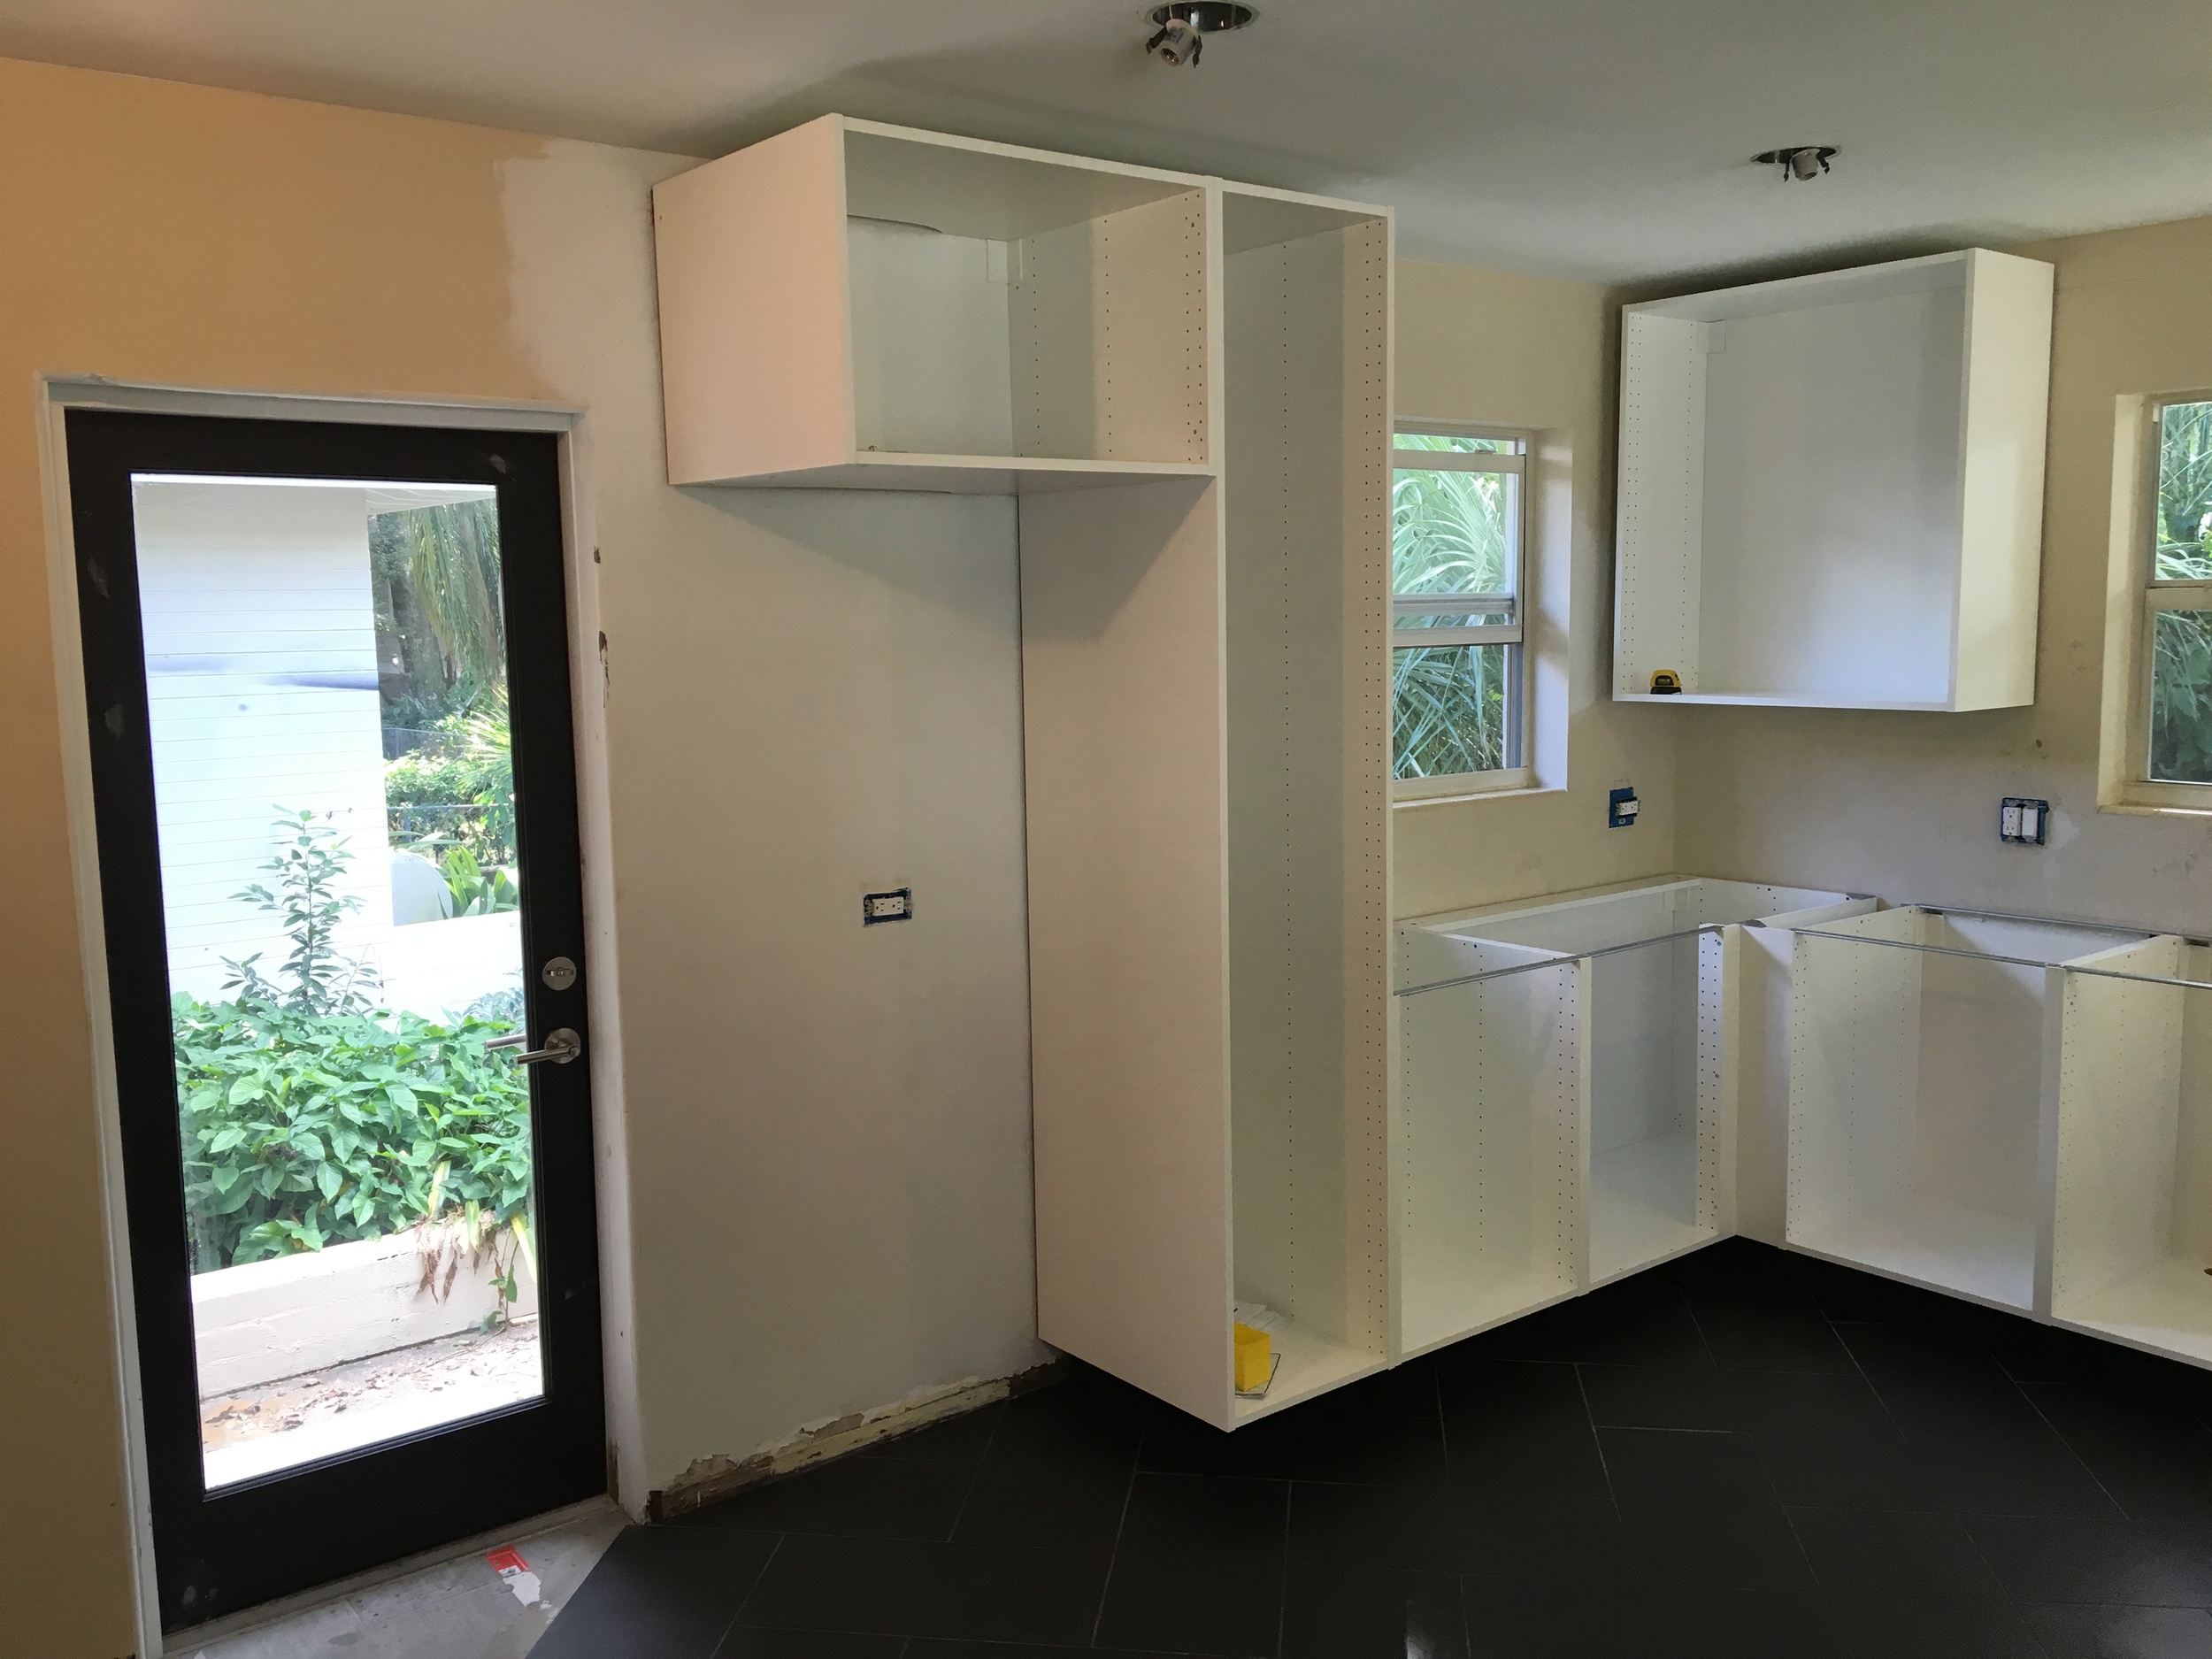
We ended up having our handyman, Dave (if you are in Orlando and need a recommendation - he's great!) help secure the suspension rails to our concrete block walls. As an extra measure we backed each rail with a bead of Liquid Nails. 

Dave going to work trimming down the rails!

Dave going to work trimming down the rails!

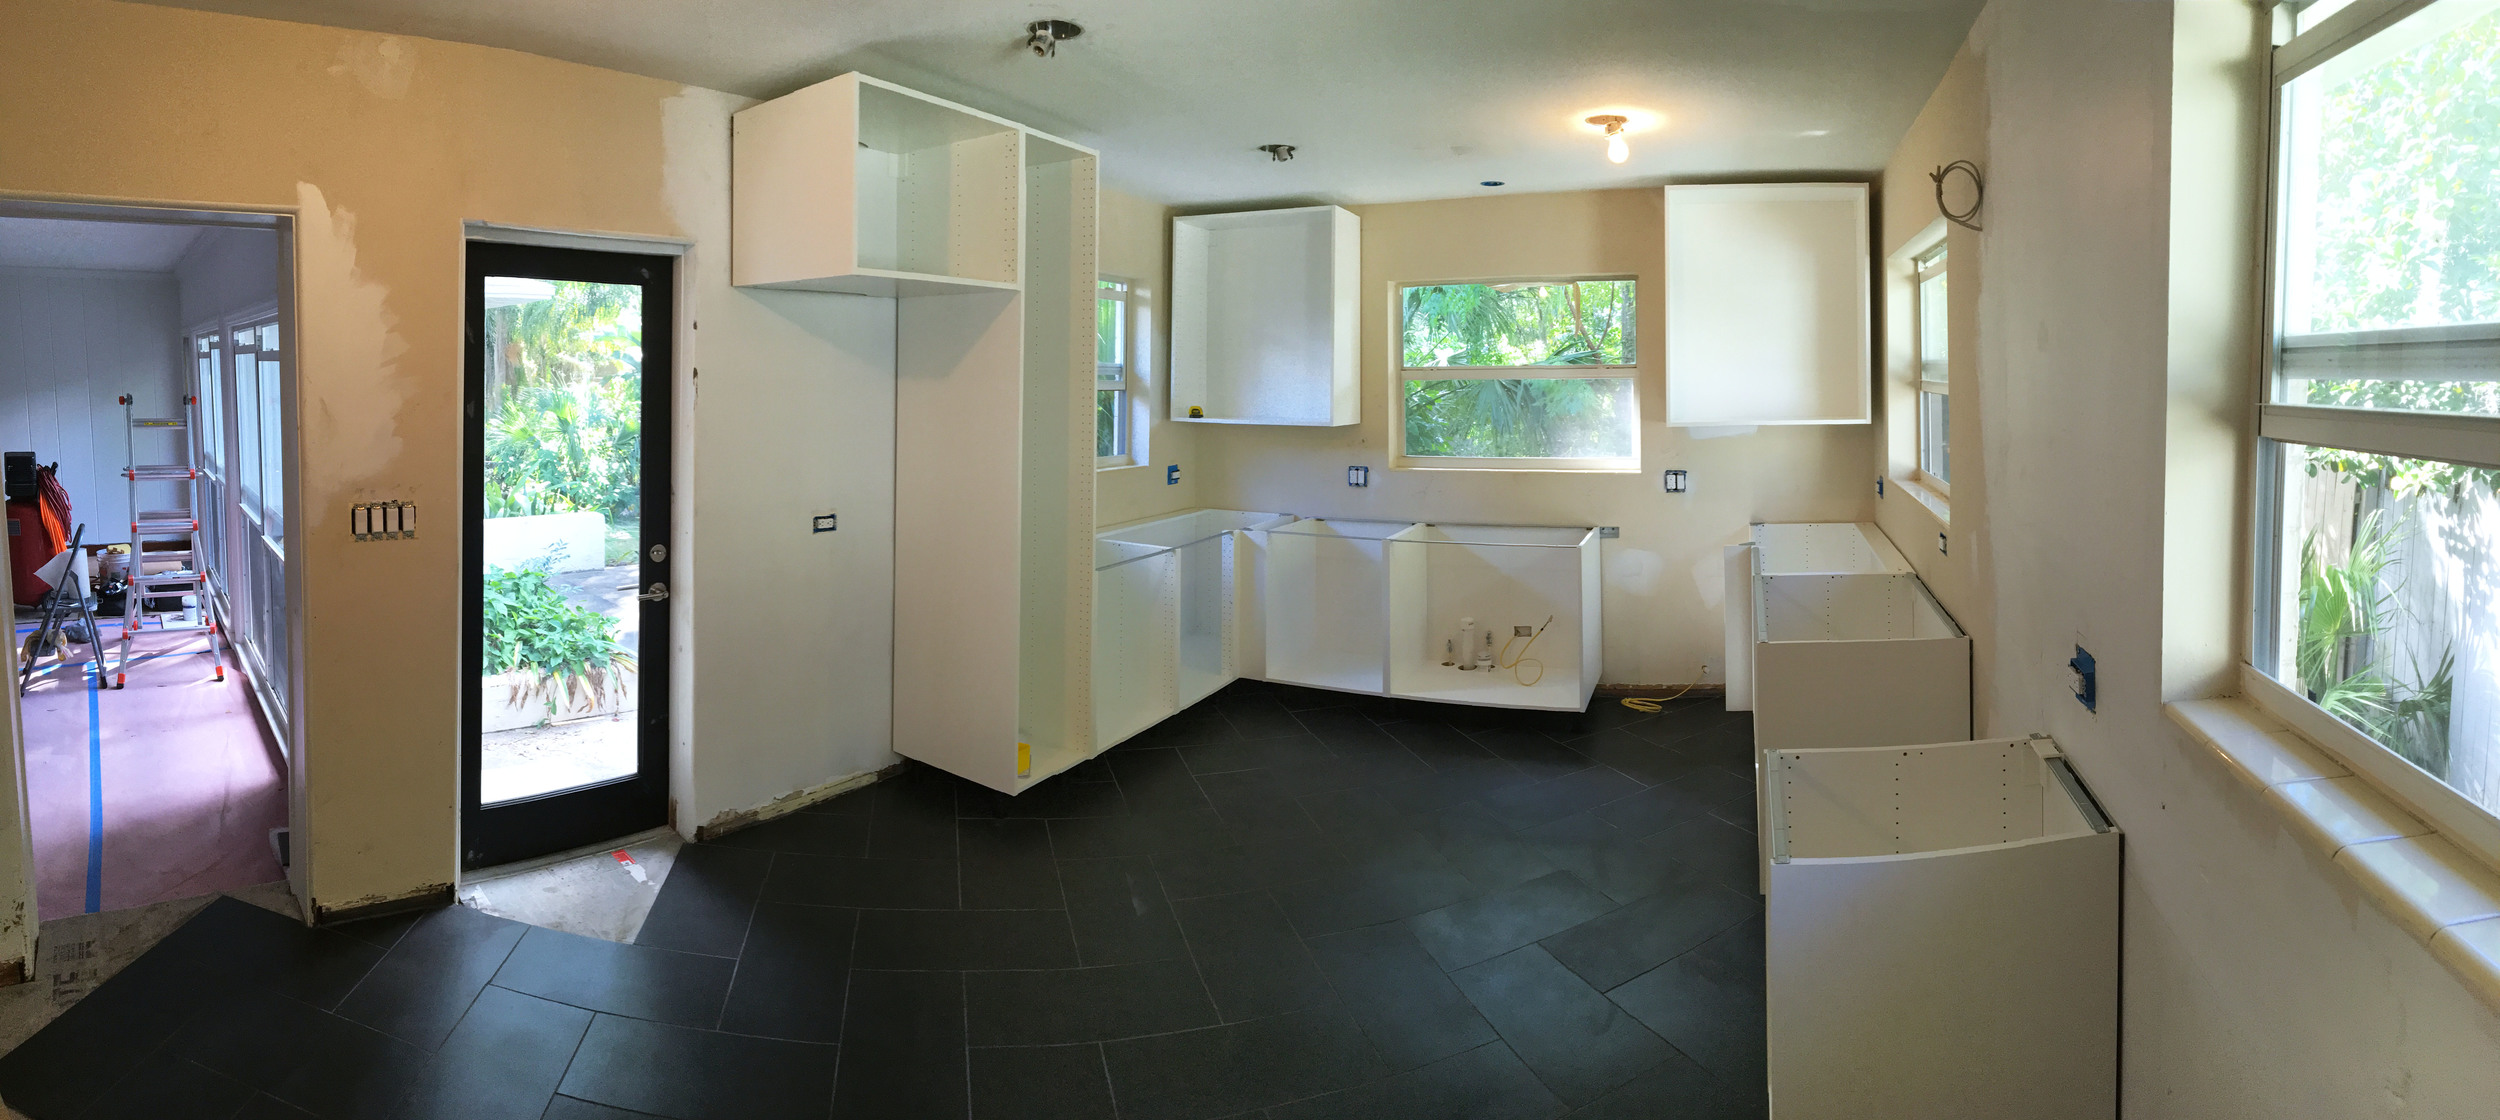
Assuming all is level and plum, hanging the cabinets themselves is the easiest part. And just like that we have the base of our kitchen:

Up next: counters, backsplash, and a million more boxes of drawers and doors!

818 Kitchen Inspiration

Things have been moving at 818. If you've been following along via Instagram you've seen we've painted the wood paneling, demoed our kitchen, and tile is going down! Once the tile is complete we can start putting (back) together our kitchen. 

After laying out a few different kitchen floor plans (island? peninsula? bar seating?), I settled on a U-shaped work space with a corner banquet. A big factor was the windows. There are 4 - which is awesome but also tricky to work around, as there are only so many spots the appliances can fit. Additionally, the kitchen is relatively isolated from the living spaces, so I wanted to make sure to incorporate a comfortable space to hang out - enter the corner banquet. Banquets are a great way to maximize space and tuck in some hidden storage. 

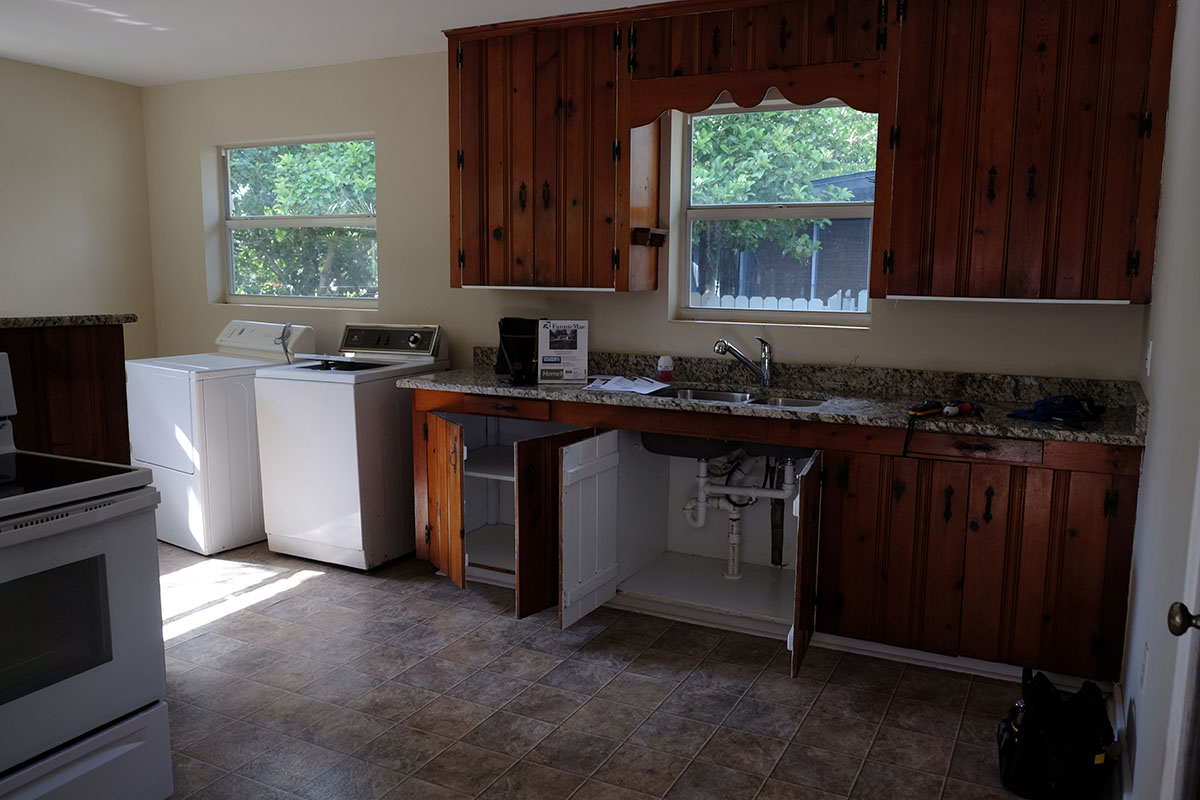
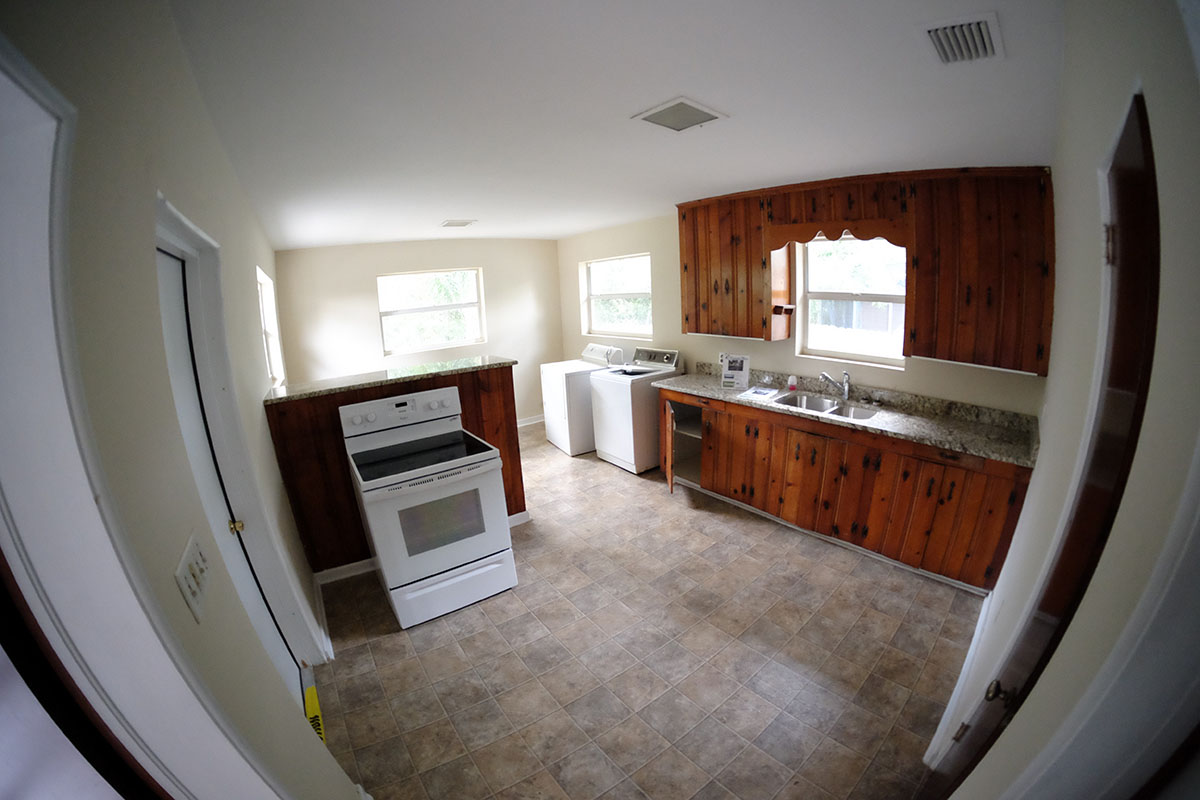
You may remember the washer and dryer were somewhat alarmingly plopped in the middle of the kitchen. We'll be stealing some from the garage's water heater closet and adding it on to the existing pantry to allow for a stackable washer + dryer. 

818-kitchen-plan

We've decided to go with white Ikea cabinets, gray quartz counters, and a white subway tile backsplash. The overall vibe is somewhat Scandinavian and definitely modern. I plan to warm it up with some natural elements, such as a rattan pendant and have my eye out for an antique butcher block island. Also thinking a pop of kelly green, maybe on the back wall?

818 Kitchen Inspiration / relativesouth.com/blog

1  /  2  /  3  /  4  /  5  /  6  /  7  /  8


So excited for this to become a reality! A bigger kitchen means I'll cook more, right?


Love at First 'Site'

Following an early Sunday dinner, and wondering how to fill the remaining hours of our weekend, Garrett casually suggested going for a drive. I joked, who goes for "drives" anymore?! He quickly quipped, "Let's check out some neighborhoods we may want to go house hunting in." The timeline for said house hunting being many months out. I knew the exact neighborhood I wanted Garrett to see - me being the local, Garrett, the California transplant.  And so what began as an innocent drive quickly turned in to the start of a very exciting adventure!

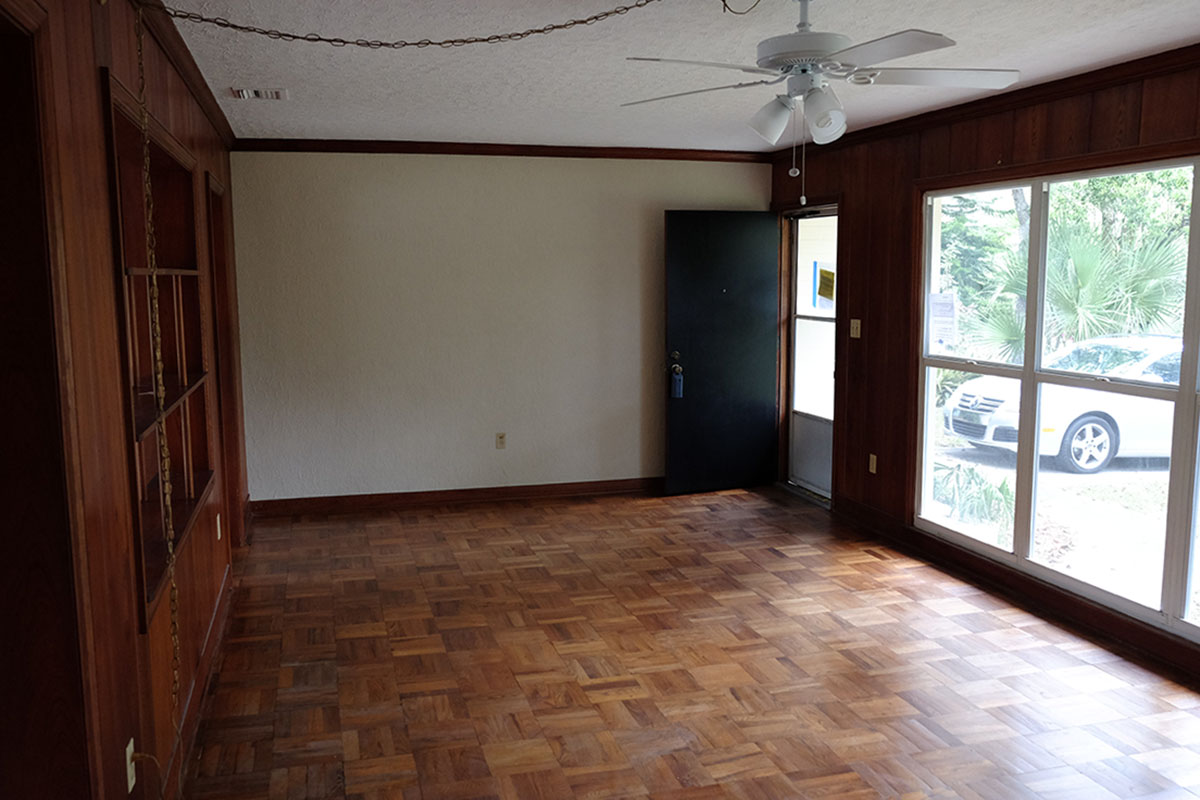
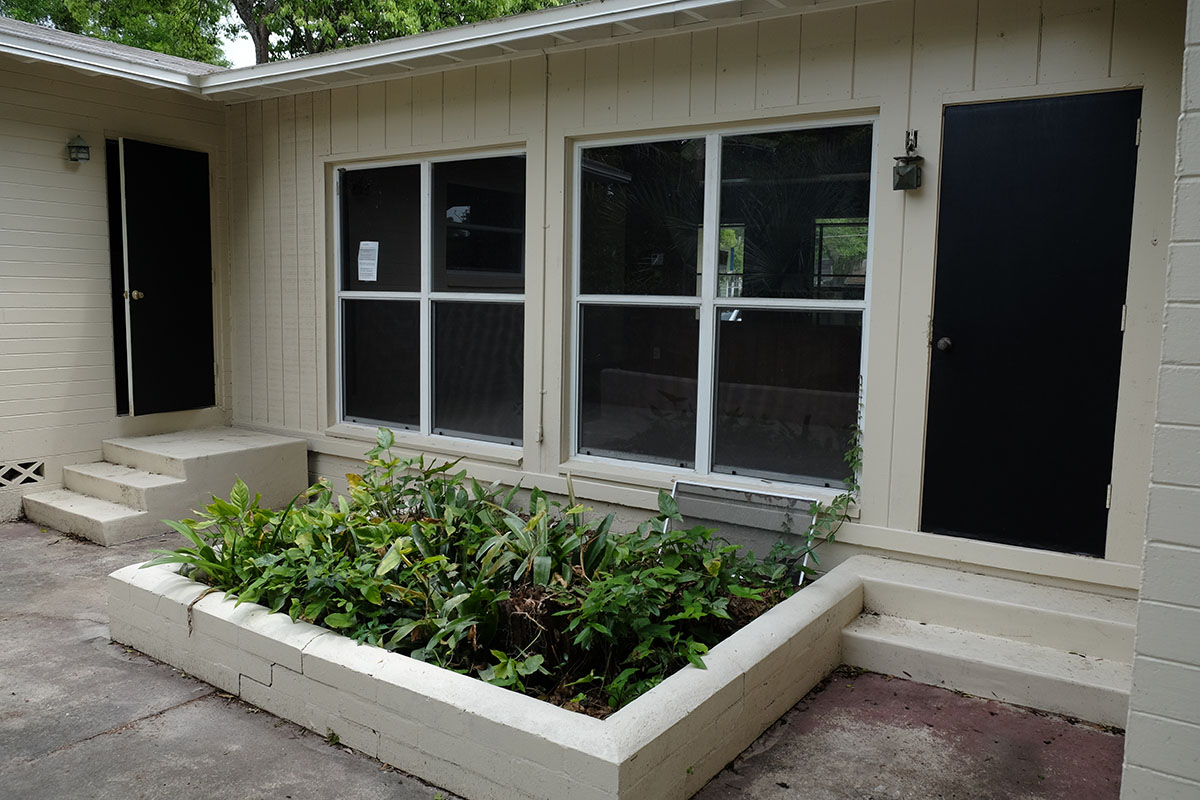
From the outside 818 was clearly not occupied, as one could see through the floor to ceiling windows spanning the front elevation. After checking Zillow and circling a few more blocks we drove back to the house so Garrett could run up to the front door and read the posted papers. Yep, bank owned! We texted my mom, who happens to be a real estate agent, wanting to get the details. She was out of town but would check on Tuesday. As luck would have it -- it hit the market that same Tuesday. We saw it on Wednesday. And again on Friday. But this was the first house we'd seen. We weren't even looking. But I knew. I knew this was meant to be our first home. We put in an offer that Friday. To our surprise our offer was accepted the following Monday! And then, we waited, and waited... and FINALLY! We closed two months later.

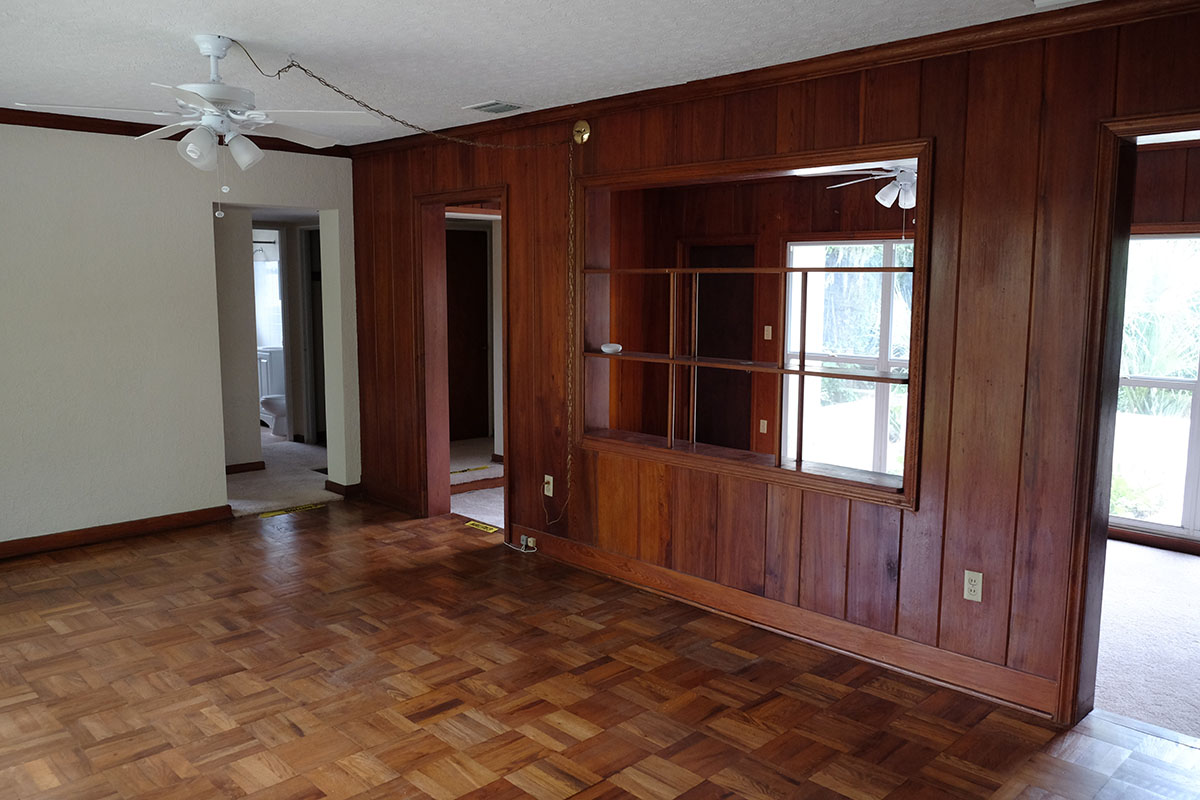
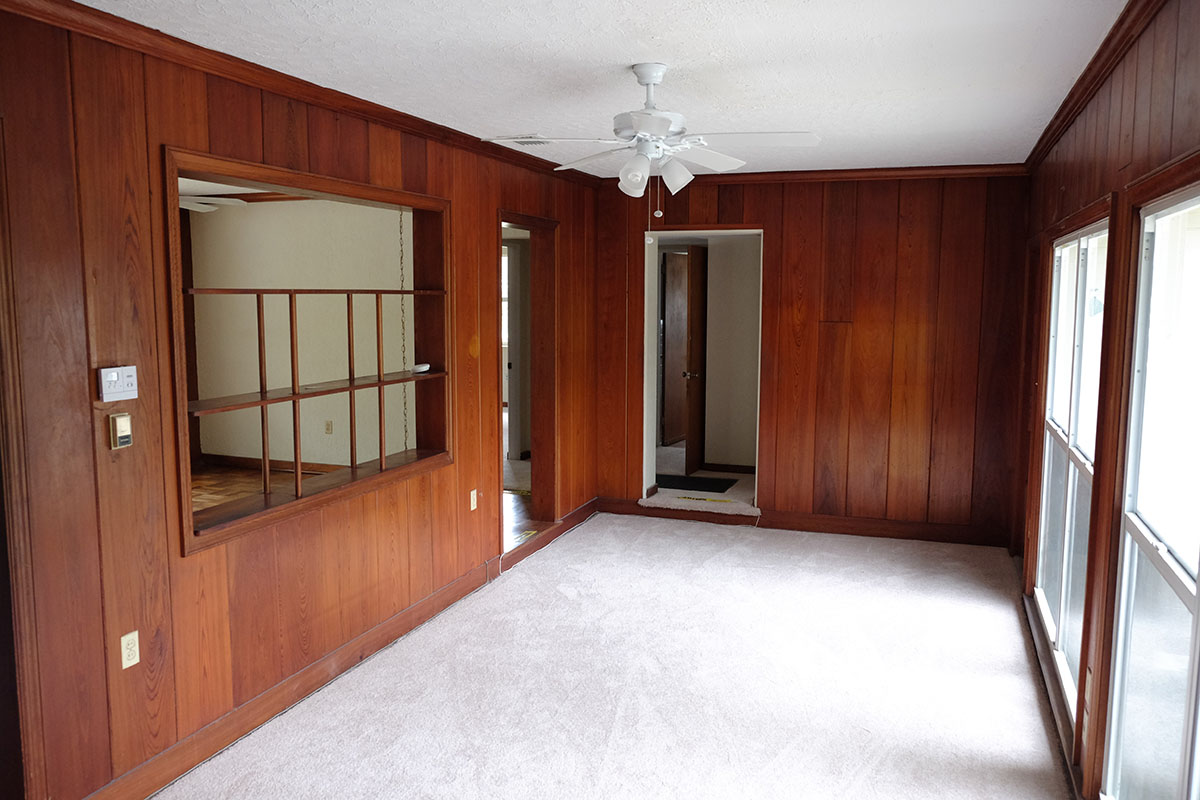
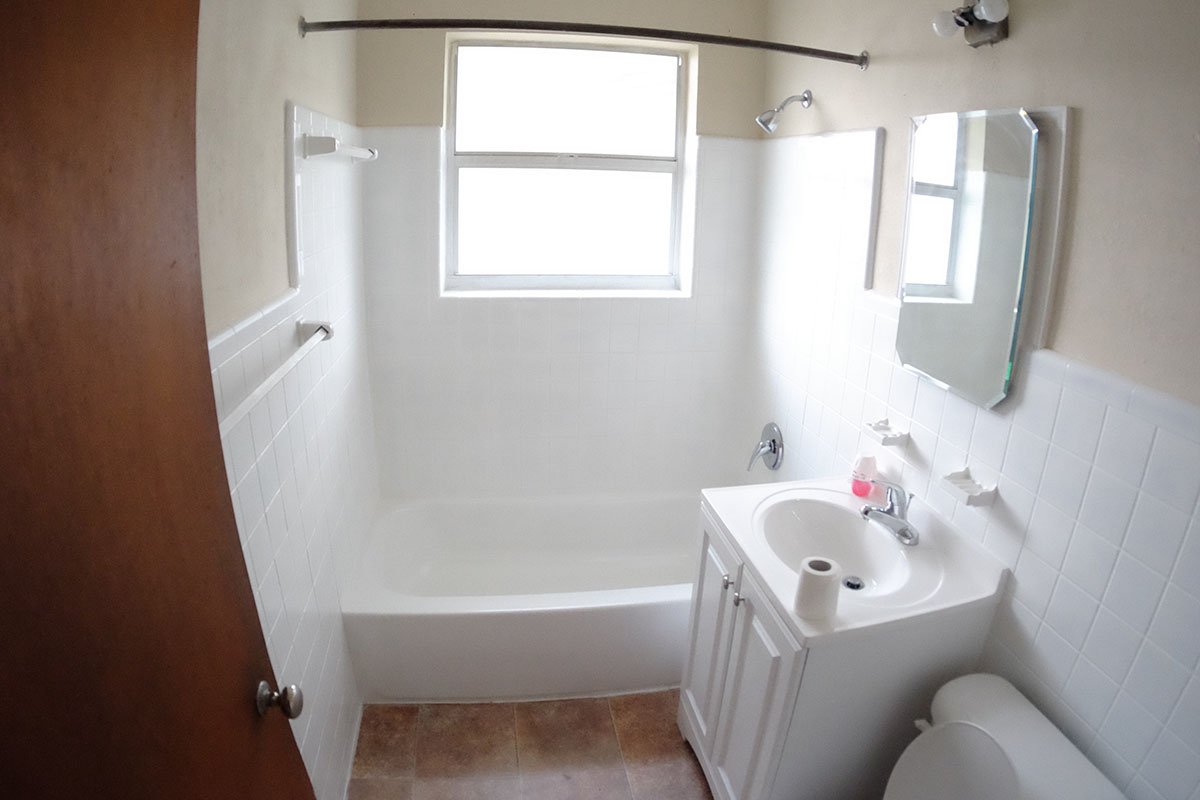
We haven't once regretted our somewhat spontaneous decision. In fact we have fallen even more in love with 818. Here's a handful of photos of the 'before' charm:

I'll keep posting about our progress - inspiration, plans, hurdles, and the finished project! Thank you for sharing this exciting time with me and Garrett!